How to Make Existing Baseboards Taller
June 3, 2021
By: The Finished Space
Despite the popularity of tall baseboards, many homeowners end up with baseboards that come up a little short.
Whether you’re a DIYer or a professional contractor, expanding the height of a baseboard is much simpler than you’d think. Here are three methods you can use to increase the size of your baseboards:
Method 1: Tricking the Eye
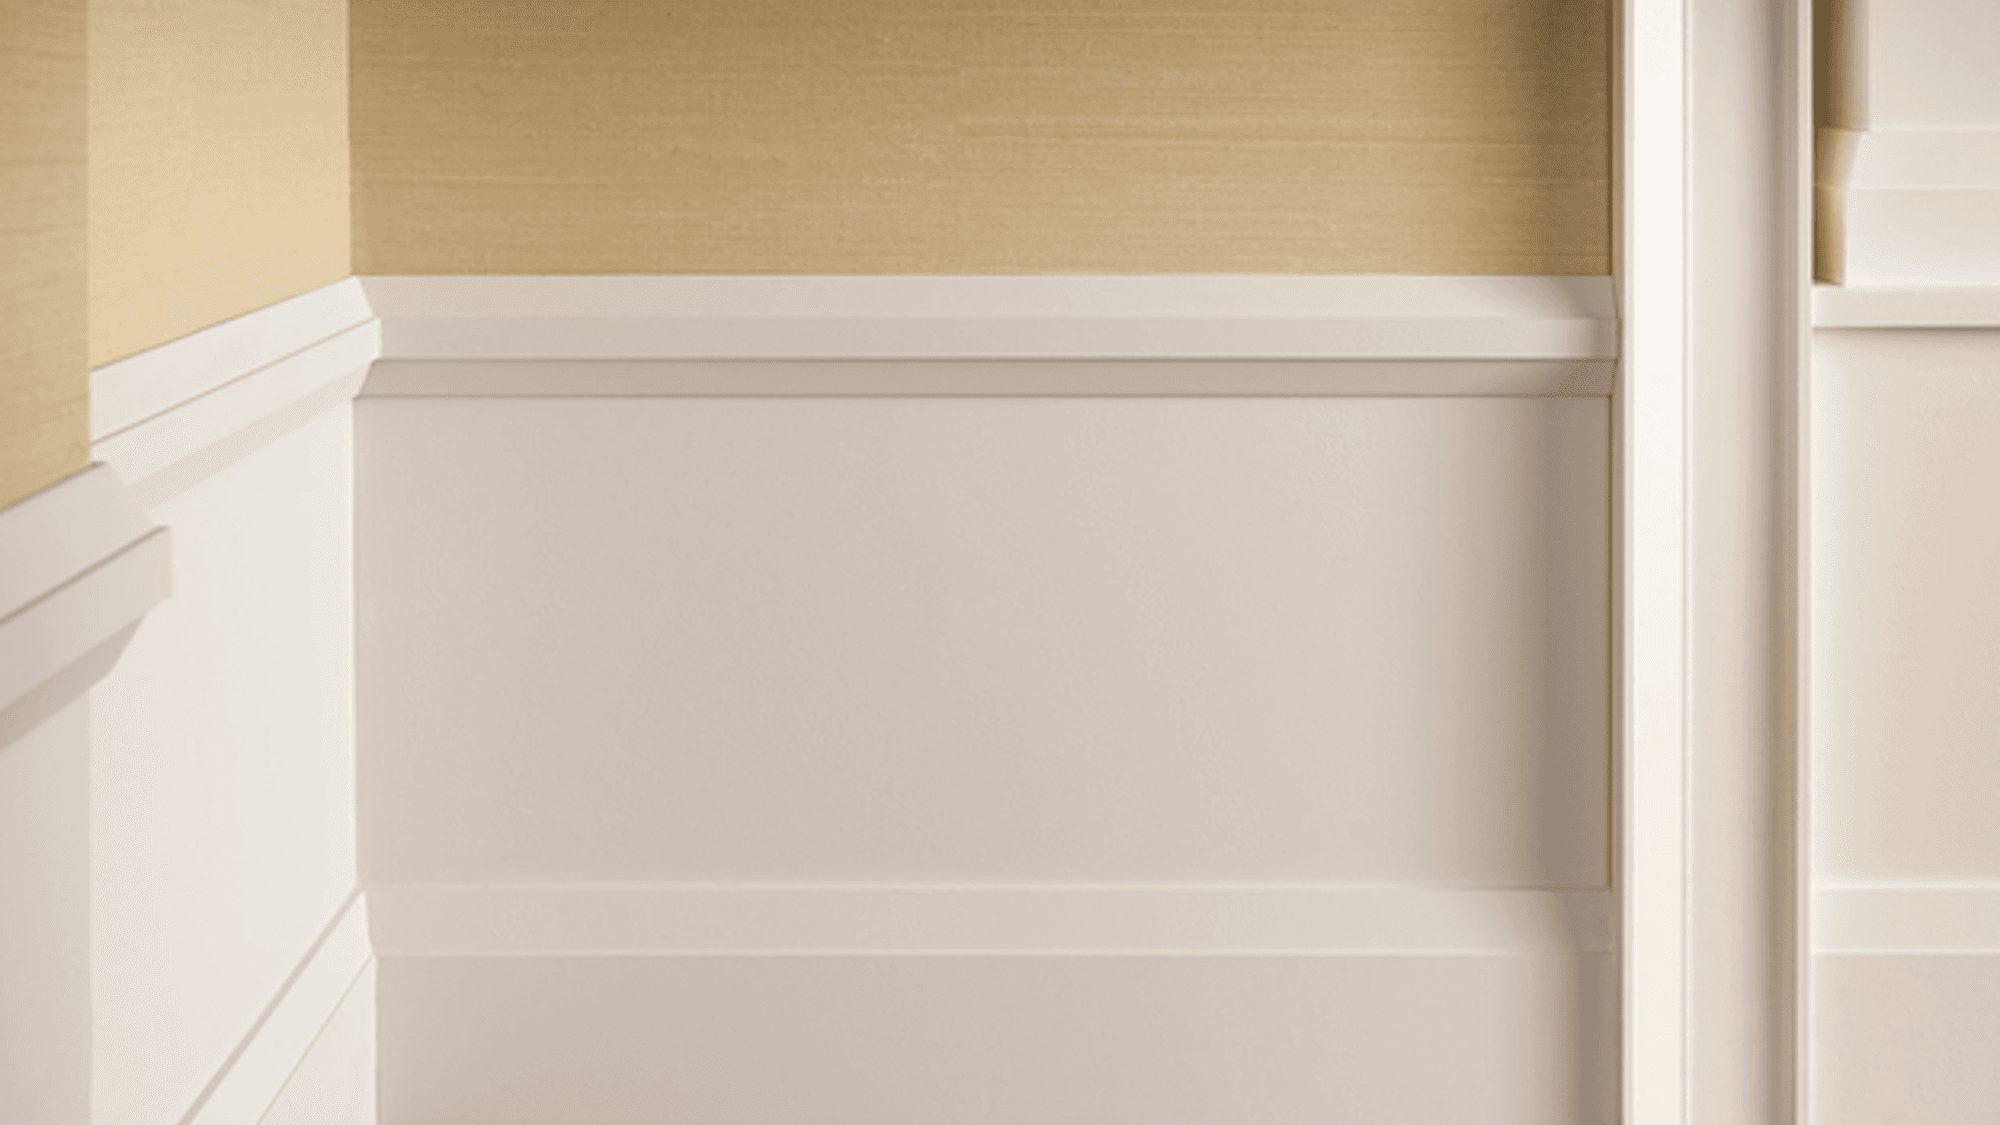
One way to make existing baseboards taller involves tricking the eye a little bit. You can do this by creating a faux-finish. It’s a simple task. All you need is an existing baseboard, some tools, paint, moulding, and a bit of imagination.
1. Gather Your Supplies
You’re going to need a thin, simple moulding (or any moulding you like) and glossy paint that matches your trim. You’ll also need tools to apply, cut, and attach the moulding, measuring tape (or something comparable), and painting supplies.
2. Decide How Tall You Want Your Baseboards to Be
You can go as tall as you like, from just a few inches above the current baseboard to halfway up the wall. Mark the height along the entire wall in a way that’s easy to see during the application process.
3. Place and Attach the Moulding on the Wall Around the Entire Room at the Height You Previously Marked
Make sure that the moulding is even and straight throughout. There’s nothing quite as jarring as a crooked baseboard.
There will now be open wall space between the new moulding and your baseboards. That’s okay! Once the moulding is attached, it’s time to paint.
4. Make Sure Your Paint is the Same Color as the Trim and Accent Colors
Trim, mouldings, and baseboards should be painted with semi-gloss paint to get a more authentic look. Before you start painting, use painters tape along the floors and the wall above the new line of moulding to keep your paint nice and clean.
5. Apply Paint
Once everything is properly taped, paint the new moulding, the old baseboard, and the wall between the two pieces.
6. Enjoy!
Once the paint dries, remove painters tape and you’re done! Just sit back and enjoy your new, taller baseboards.
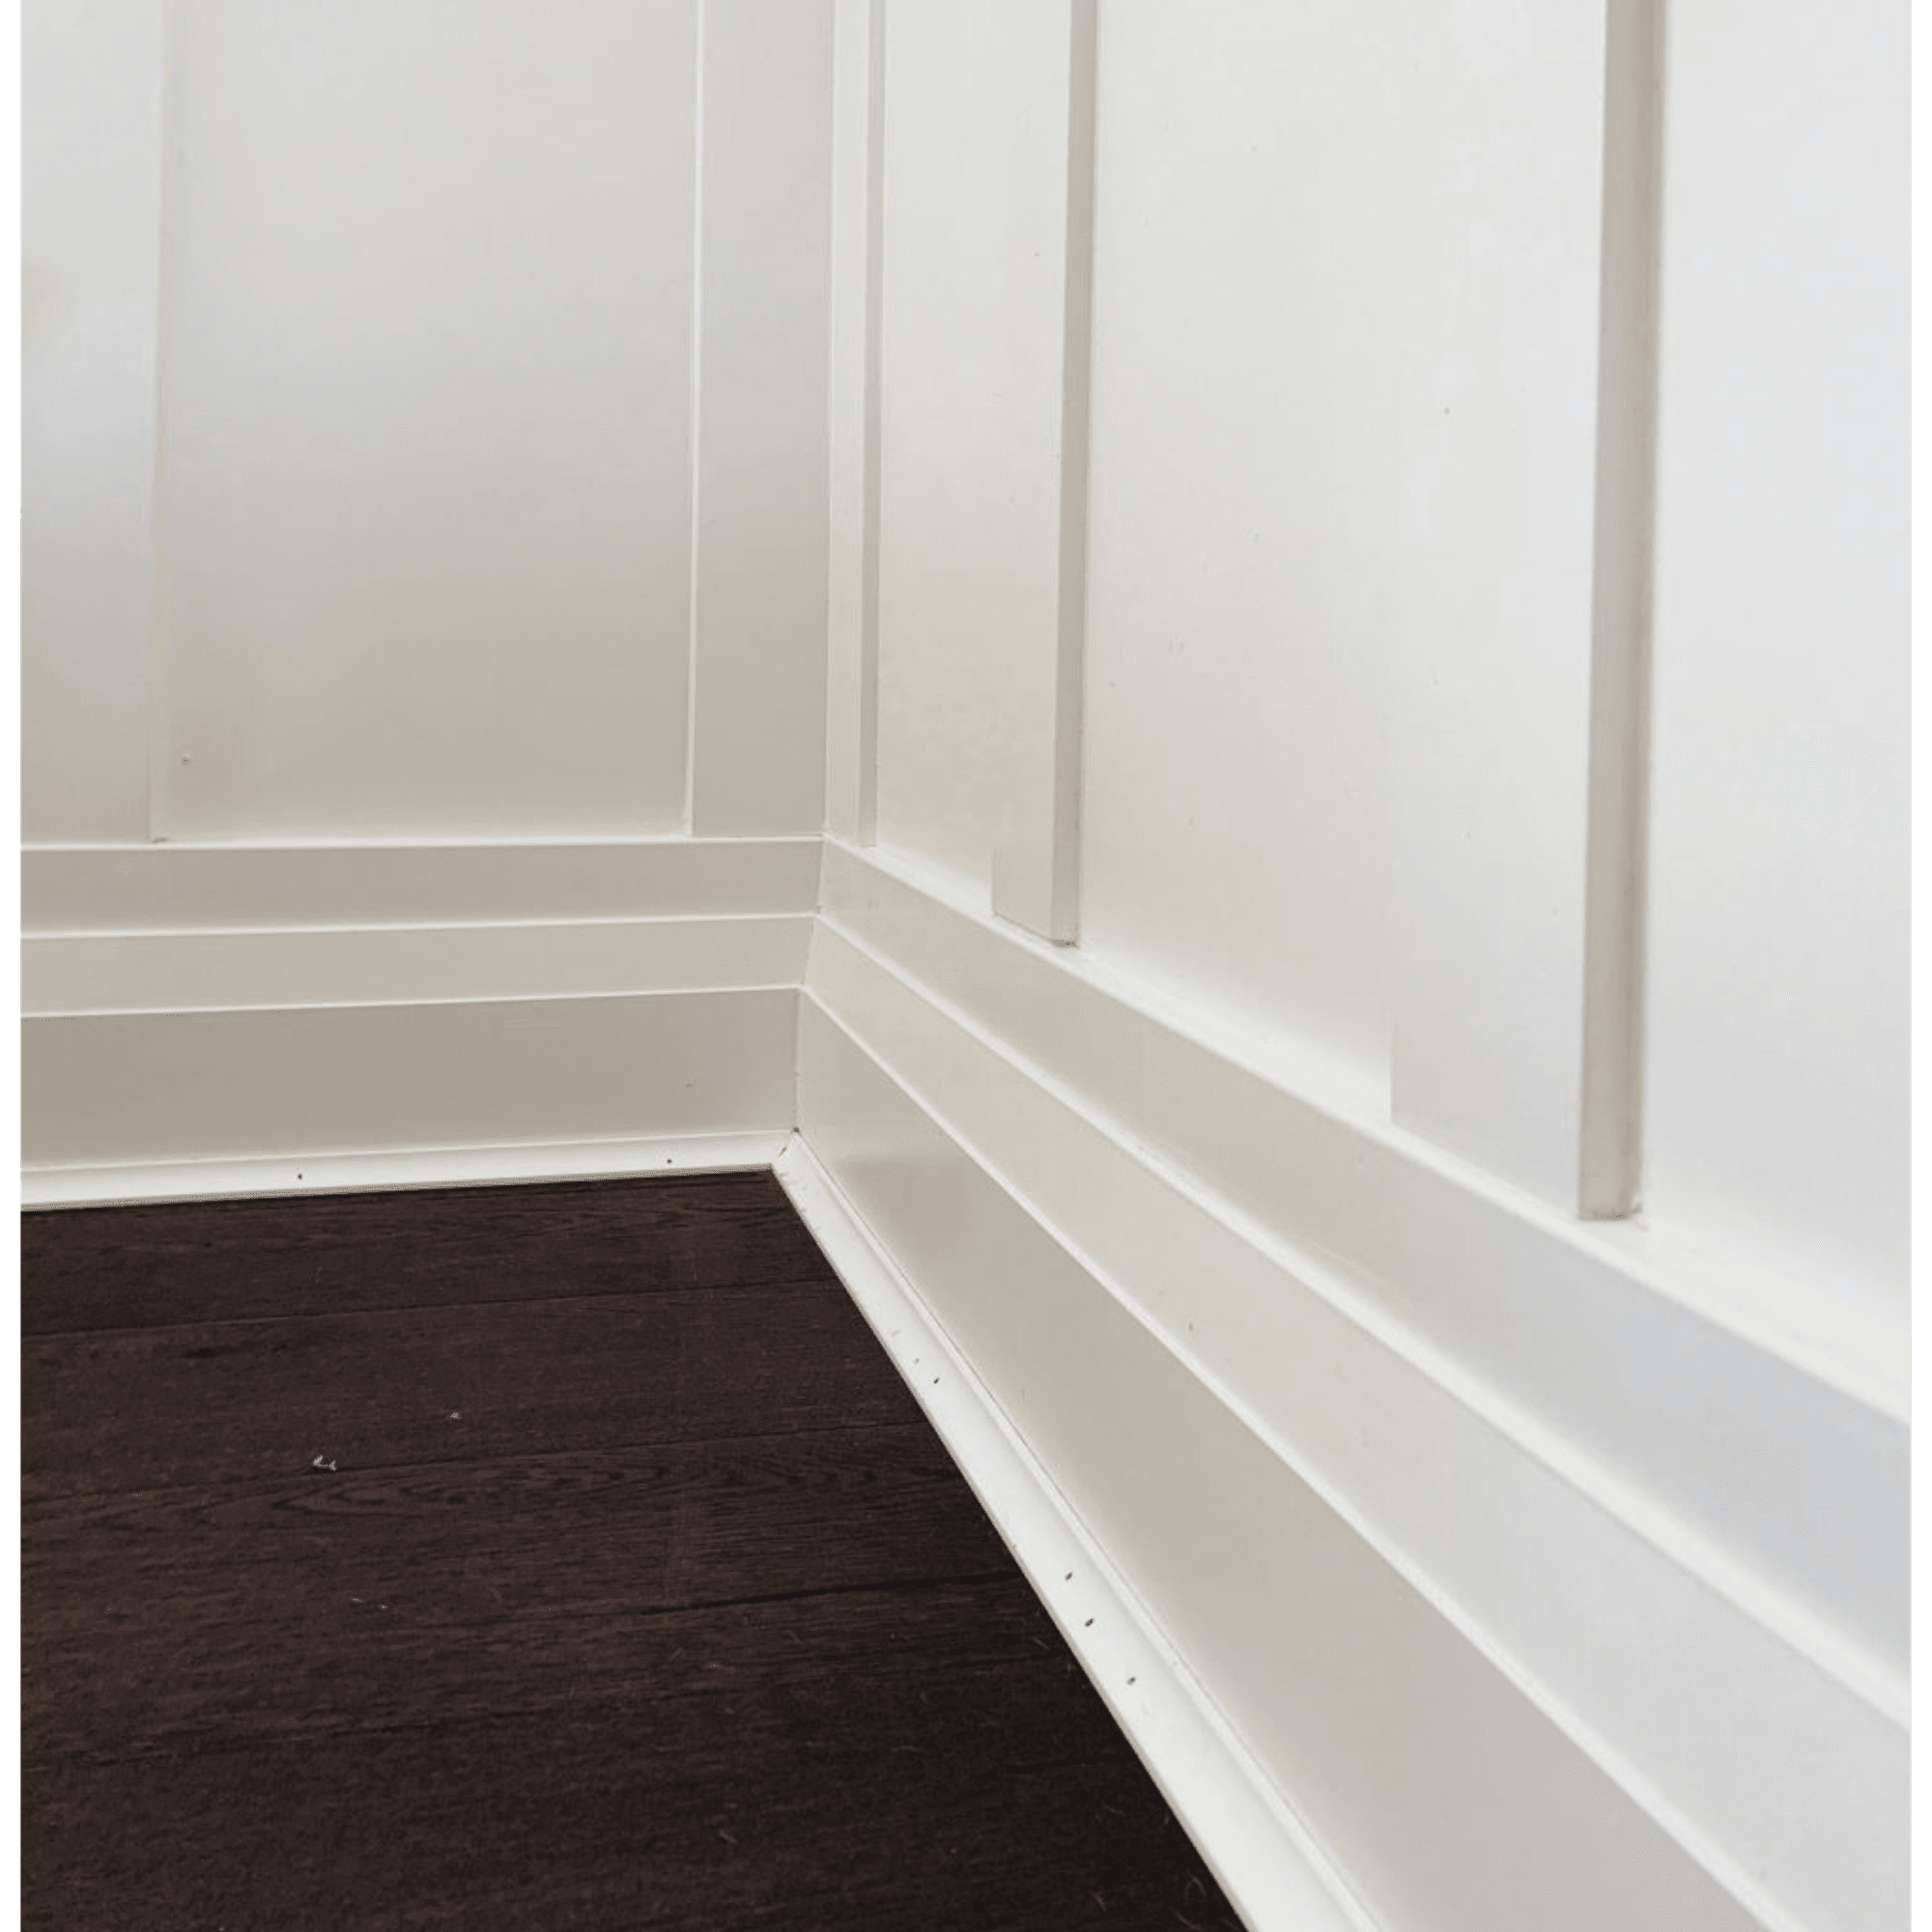
Method 2: Stacked Moulding
The second method is similar to the first, but doesn’t utilize any wall space. You won’t be able to achieve great heights using this option, but the baseboards will definitely be taller. Plus, there’s no need to rely on an illusion.
1. Gather Your Supplies
You’re going to need new mouldings, paint and painting supplies, caulk, sandpaper (or something comparable), and the tools necessary to cut and attach the mouldings.
2. Line it Up
Instead of choosing a specific height on the wall (like you would with Method 1), this one is much simpler. Just line up the new moulding along the top of the existing baseboard. This will give you an increased height equal to the new moulding you chose.
3. Cut and Attach the New Moulding
Try to get the moulding as close to the old baseboards as possible. If there’s space between them, don’t worry! We’ll fix that in the next step.
4. Fill in the Gaps
Caulk the space between the moulding and the baseboard until the surface is even. Leaving empty space will make it evident that the two pieces aren’t attached. Caulking it will give the illusion that it’s all one piece.
Be sure to caulk the corners and nails (if you used them to attach the moulding) to give everything a smooth and even texture.
5. Sand it
Sand everything down until the surface is smooth and uniform. Wipe away and clean any excess dust before moving to the next step.
6. Apply Paint
Paint the baseboard, trim, and caulk. Make sure the color you choose for your paint matches the trim in the rest of your home.
7. Take it in
You’re done! Take a step back, relax, and admire all of your hard work.
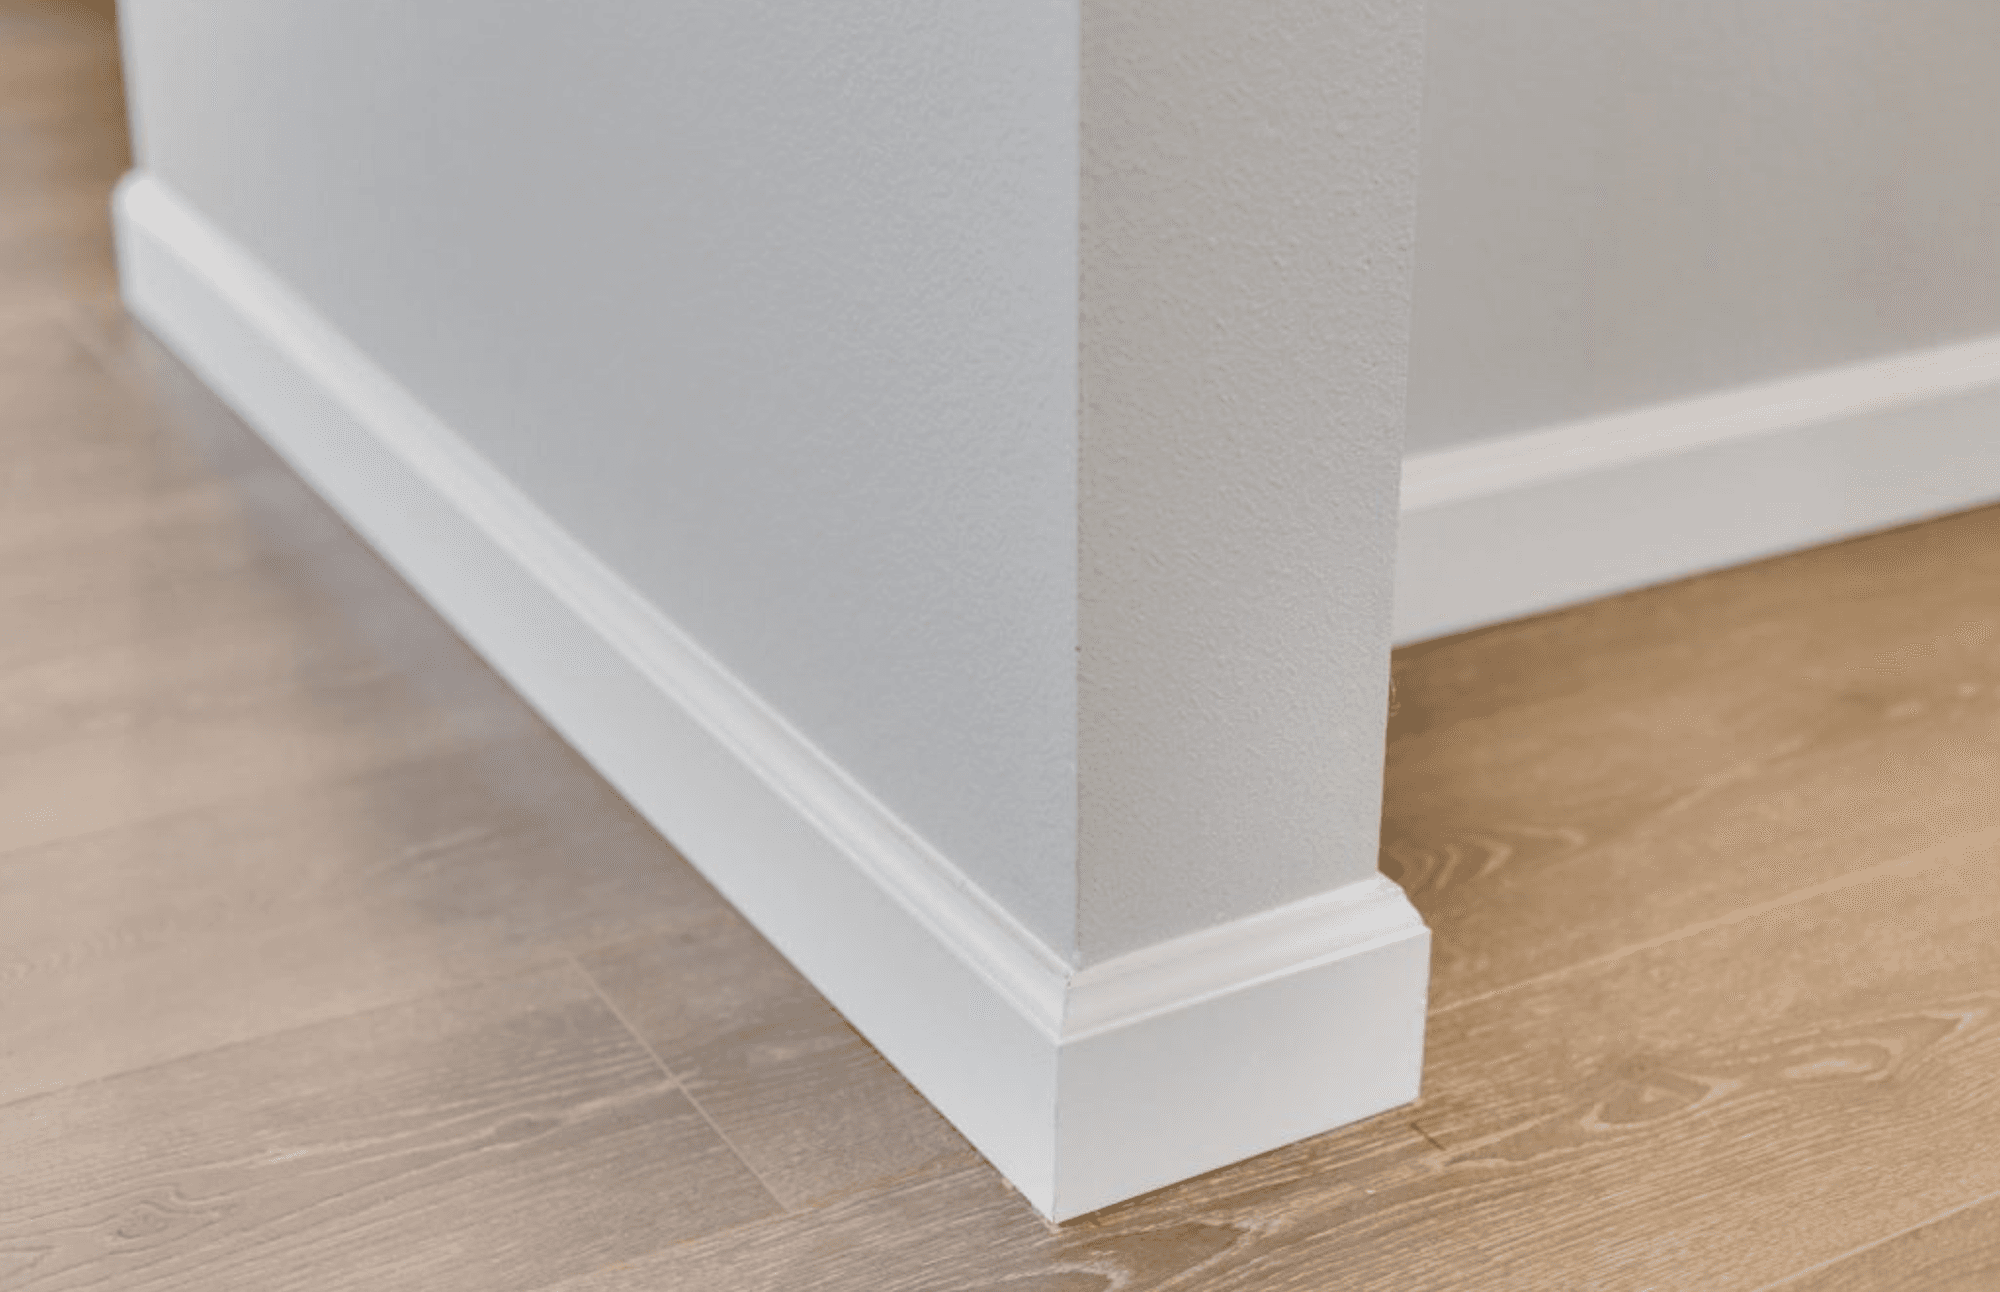
Method 3: Three-Piece Baseboards
The third method is possibly the most complicated and extensive of the three options, but it’s definitely worth it if you’re willing to put in the work. This one starts just like the others.
1. Gather your supplies
You’re going to need tools and painting supplies, of course. You’ll also need moulding for the bottom, your existing baseboard, an additional pine board (whatever size you like), and moulding for the top. That’s right, you’ll need two sets of moulding.
We recommend a simple quarter-round moulding for the bottom and decorative moulding for the top, but that’s definitely dependent on your taste and style. Choose whichever types match your design aesthetic.
2. Attach More Board
To extend the height of your existing baseboard, attach the new pine board on top of the older baseboard. Make sure the two pieces are flush.
3. Attach Moulding to the Bottom of the Baseboard
Next, attach the quarter-round moulding (or whatever moulding style you chose) to the bottom of the baseboard. Your goal is to make the moulding and the baseboard flush, so they lie flat on the floor.
4. Attach Moulding to the Top of the Baseboard
Stack and attach the decorative moulding on top of the baseboard, increasing the height even more. This adds a little bit of flair to an otherwise simple baseboard.
5. Fill in Empty Spaces
Apply caulk to the baseboards and moulding to make sure there are no empty spaces. Empty spaces will make it appear like there are several pieces instead of just one. Ultimately, this will make the finished baseboard look smooth, even, and seamless.
6. Paint!
Once the caulk is dry and the baseboard looks the way you want it to, it’s time to paint. You can apply as many coats as you need to achieve the desired look.
7. Relax
You’re finished! Now you have tall baseboards that look sophisticated and completely tie your room together.
Get the Right Baseboards for Your Home
Don’t think you’re limited to these three methods, either. There are countless ways to design, style, and extend the height of your baseboards.
If you’re ready to make your baseboards taller but aren’t sure what type of baseboards you like, check out Option {M}. There’s a fantastic tool to help identify your design aesthetic and the perfect finishing touches.