How to Install Pre Painted Shiplap Indoors
March 14, 2022
By: The Finished Space
Shiplap has taken the interior design community by storm. It’s been around for centuries and has recently evolved as the perfect shabby chic companion to the trendy and rustic farmhouse styling.
Due to its popularity, many homeowners and designers recognize shiplap on-sight and often look for it in homes they’d like to buy. However, many people aren’t familiar with shiplap’s origin, how it’s used in modern development, and even fewer know how to install it.
The truth is you don’t need to be a professional contractor to install pre-painted shiplap. To prove it, we’ve included a simple step-by-step guide on the pre-painted shiplap installation process. Before jumping into shiplap installation, let’s take a brief moment to discuss what shiplap is.
What is Shiplap?

Shiplap is a style of wooden board used as an exterior siding for development and construction. It can often be found on barns, sheds, outbuildings, and residences. Due to its tight sealing ability, it was initially used to waterproof seaborn ships.
Since shiplap had a proven track record for durability, specifically protecting against marine water and wind, developers started using it on buildings. At that time, its intended purpose was entirely functional.
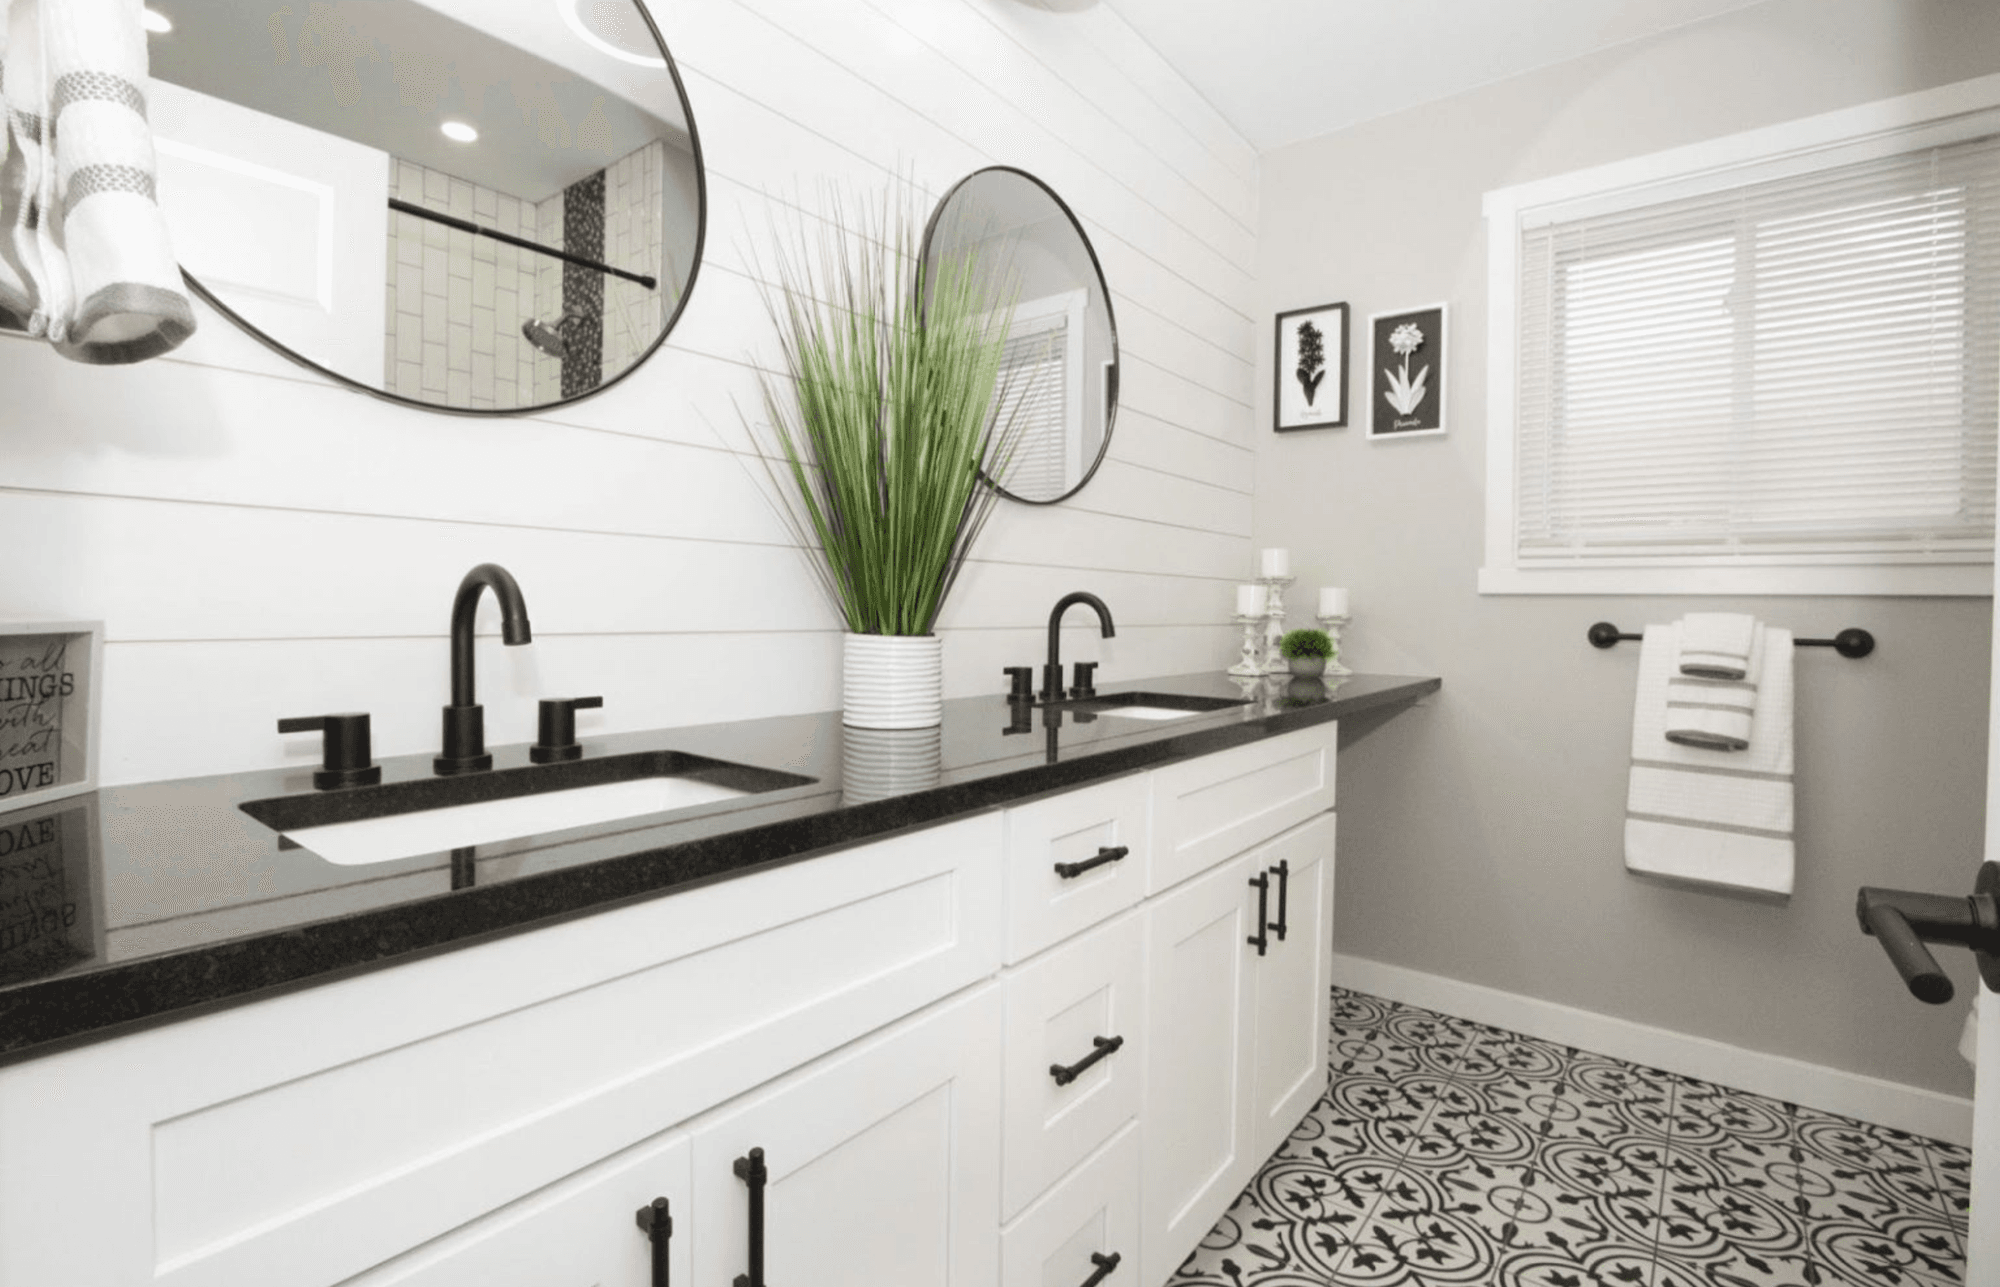
Nowadays, shiplap has come a long way and is often found inside the home as an aesthetic enhancement. It adds a rustic and cozy quality to living rooms, bedrooms, kitchens, and more.
What is Pre-painted Shiplap?
Pre-painted shiplap is what it sounds like – a revolution in shiplap design. Before this innovation, shiplap would come primed or raw, and you’d have to paint and finish the product pre- or post-installation. With pre-painted shiplap, all the work is already done for you!
How to Install Pre-painted Shiplap

Hiring a professional contractor might be the best option for you, but you’re more than welcome to install it yourself. In fact, the installation process for pre-painted shiplap is relatively simple, and can be done by even a novice DIYer.
Here’s an easy step-by-step guide for installing pre-painted shiplap in your home.
Step 1. Remove Baseboards Before Installation
Before you begin, you should remove the baseboards along the bottom of the wall. Your ultimate goal is to cover the wall from floor to ceiling with shiplap, so you want to make sure you have access to all available space.
Remember not to dispose of the baseboards. You’re going to re-install them after you finish installing the shiplap.
Step 2. Locate and Indicate Studs in the Wall
First, you should locate the studs in the wall. Then, using a ruler, create lines indicating the stud locations along the entire wall so you know exactly where they are during the installation process. This will make the installation process much more manageable.
Step 3. Cut and Level Your First Piece of Shiplap
Next, you need to cut your first piece of shiplap. Make sure you measure and cut the shiplap board to fit the entire wall. This step is very important because you want the final product to be completely seamless and perfectly fitted.
Step 4. Starting from the Bottom, Nail in Each Piece of Shiplap

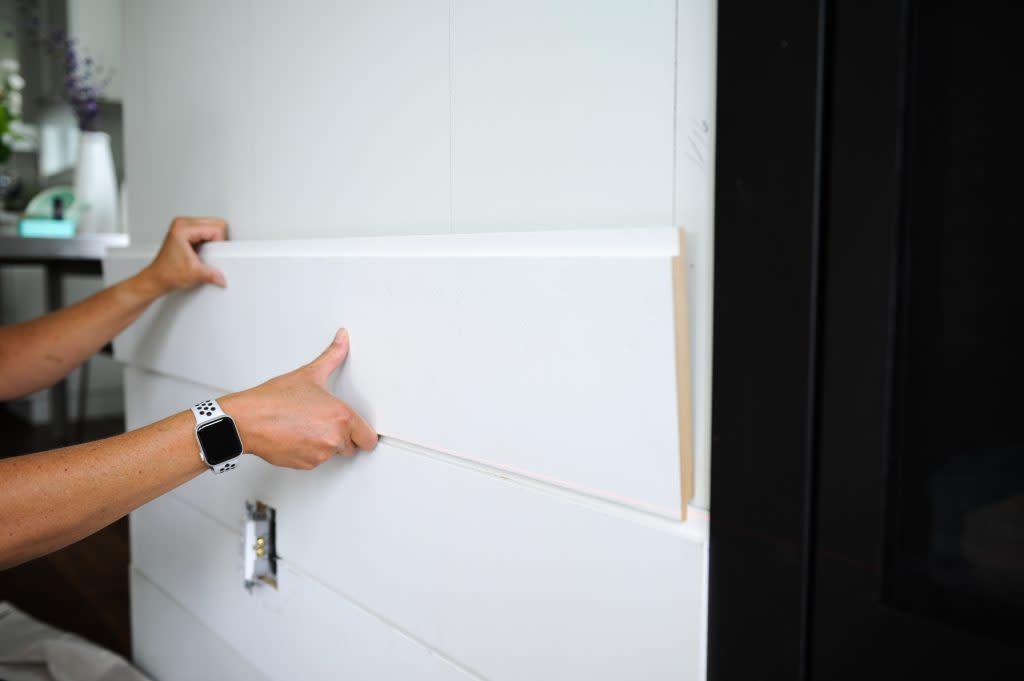
While you’re installing your shiplap, you want to ensure that there’s a 1/8” gap between boards and that every nail is hidden. To hide them, you should nail them into the dado of each plank.
The dado is a groove that is cut into the shiplap that makes it super easy to install without visible nails. If done correctly, every piece of shiplap installed after the first will hide the nails of the plank installed before it. That way, you don’t have to worry about covering them up after you’re finished.
Step 5. Caulk All the Edges
Once the final shiplap piece is in place, caulk all the edges. Caulking creates a clean and polished look to the overall installation and covers the space between the shiplap and the adjoining walls.
Step 6. Install Your Baseboards
With normal shiplap, this would be the part of the installation process where you’d have to paint everything. Pre-painted shiplap allows you to move right to the final step. Simply install your baseboards over the bottom layer of the shiplap.
You might also want to install trim or moulding to cover any gaps or edges. This is entirely based on your discretion and the interior design elements you already have in place.
Step 7. You’re Finished!
Once the baseboards are re-installed and you’re happy with the results, you’re done. Take a step back and enjoy your work!
Elevate Your Home’s Style with Metrie’s Revolutionary Pre-painted Shiplap Today!

If you’re interested in learning which moulding styles are suitable for your home, you should look into Option {M} today. It’s an innovative design tool that pairs specific moulding styles with popular design trends.