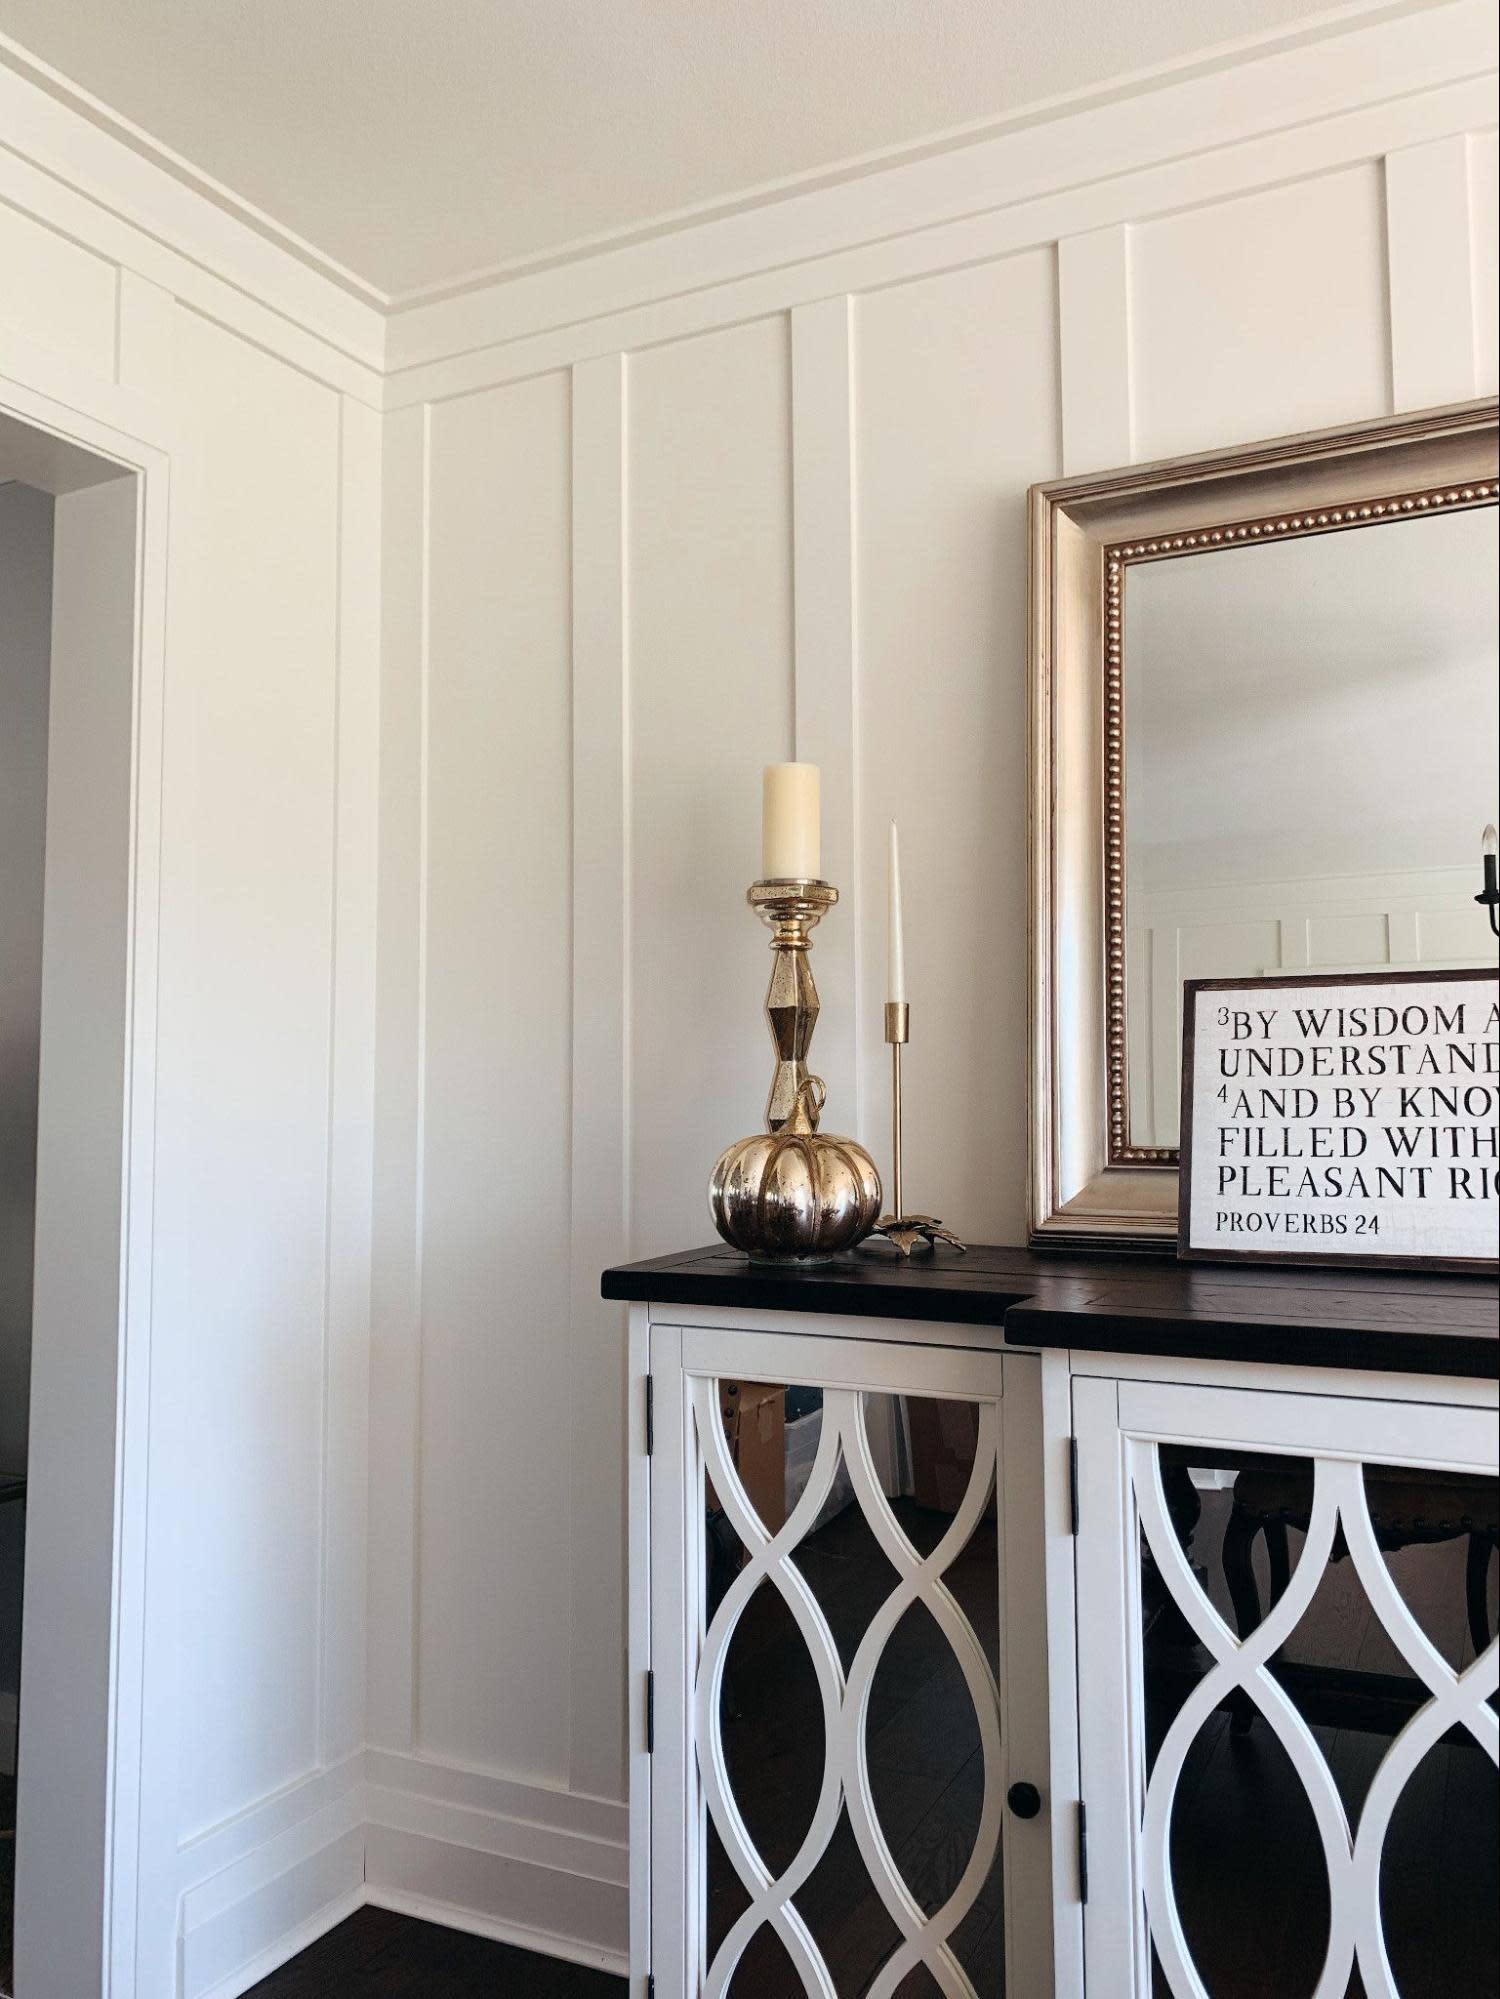
What Is Batten Trim & Moulding and How to Install It
April 4, 2022
By: The Finished Space
There’s no better way to elevate a design than by using moulding and trim to highlight and enhance your aesthetic. They are design elements that take up little space and don’t distract or pull unnecessary focus, but can add a crisp layer of doneness to a room, and batten trim and moulding are among our absolute favorites.
What is Batten Trim and Moulding?
Batten trim and moulding are narrow strips of intricately designed wood with a rectangular cross-section. It is most often used in conjunction with wide panels, called boards. This is why you’re more likely to hear batten described when people talk about “board and batten.”
However, there’s an essential distinction to make when using that term because those are actually two separate things. The “boards” are the broad sections of wood used for panels, while the “batten” is the thin strip of trim that conceals the seams where the boards meet.
Boards and batten treatments can instantly revive and bolster any room’s design aesthetic. They offer layers of dimension, tonal qualities that are otherwise difficult to attain, and a certain level of luxury and sophistication that many homeowners love.
How to Install
Whether you’re an amateur DIYer or professional contractor, the installation process for this dynamic design element is much easier than you might think. All you need is a little experience, some patience, a steady hand, a meticulous eye for detail, and the proper tools to get the job done.
Here are seven easy-to-follow steps for installing batten trim and moulding:
1. Identify the Style and Select the Material
Trim and moulding are incredibly versatile design elements, so choosing the right style and pattern is essential. When choosing the style for your batten trim and moulding, you can customize the thickness, width, height, patterns, color, and finishing touches. Ultimately, you want your batten trim to fit your style and design aesthetic. So, choose the moulding type that’s right for you.
Remember that you can color your moulding any way you like, so don’t let your color palette limit your design options. As a quick pro-tip, when choosing batten and boards, remember to choose a thickness relative to your door frames, window frames, crown moulding, and baseboards. You never want your panels and trim to stick out too far.
2. Make Your Measurements
If you’re using batten trim to cover the seams between your boards, you should take some time to ensure the heights match, and you should also measure the complete length of the wall, counting out how many pieces of trim you’ll need to cover the entire space. Don’t forget to purchase extra material just in case you need it.
3. Find the Studs
Source: The Gold Hive
Next, it’s time to use a stud finder to locate and mark the studs in the wall. These will be used to anchor your trim and boards, to ensure that they stay in place.
4. Cut the Material to the Measurements
Source: The Gold Hive
Using a saw of your preference, it’s time to cut the materials based on the measurements you gathered in the above step. Remember to cut using the different degrees to help the batten fit snugly onto the boards. For a seamless finish, you should also cut batten moulding to install along the top of the panels, that cuts across the room (similar to a chair rail).
5. Level and Install
Source: The Gold Hive
Once you have everything cut and ready to go, it’s time to begin the installation. While attaching all the pieces, remember to level everything out to appear straight. There’s nothing quite so irrationally irritating as a crooked piece of moulding or trim.
6. Patch and Caulk
Once everything is installed, it’s time to cover up any seams or inexplicable spaces left behind during the installation. Patching and caulking these areas will create a seamless and clean appearance, which is ideally what you want with your batten trim and moulding.
7. Prime and Paint
Source: Sarah McBean, Rug and Weave
Once the moulding is attached, and the seams are covered, it’s time to prime and paint. Remember to choose colors that either match or otherwise complement your design aesthetic. Once applied, allow adequate time for drying, and you’re good to go!
Achieve Your Dream Batten Trim and Moulding Project with Metrie
Metrie’s batten trim and moulding are the perfect finishing touches for almost any design aesthetic. Using this design element is ideal for adding dimension, sophistication, and beauty without pulling focus or busting your design budget. For more batten trim and moulding design inspiration, check out our design galleries. If you want to revitalize your home’s design aesthetic but aren’t sure which moulding style is right for you, check out Option {M} today. It’s a sophisticated design tool that pairs popular design trends with matching moulding styles. That way, you don’t have to worry about choosing the wrong type for your home.

