An Interior Designer’s Take on Installing Modern Farmhouse Shiplap
September 17, 2019
By: The Finished Space
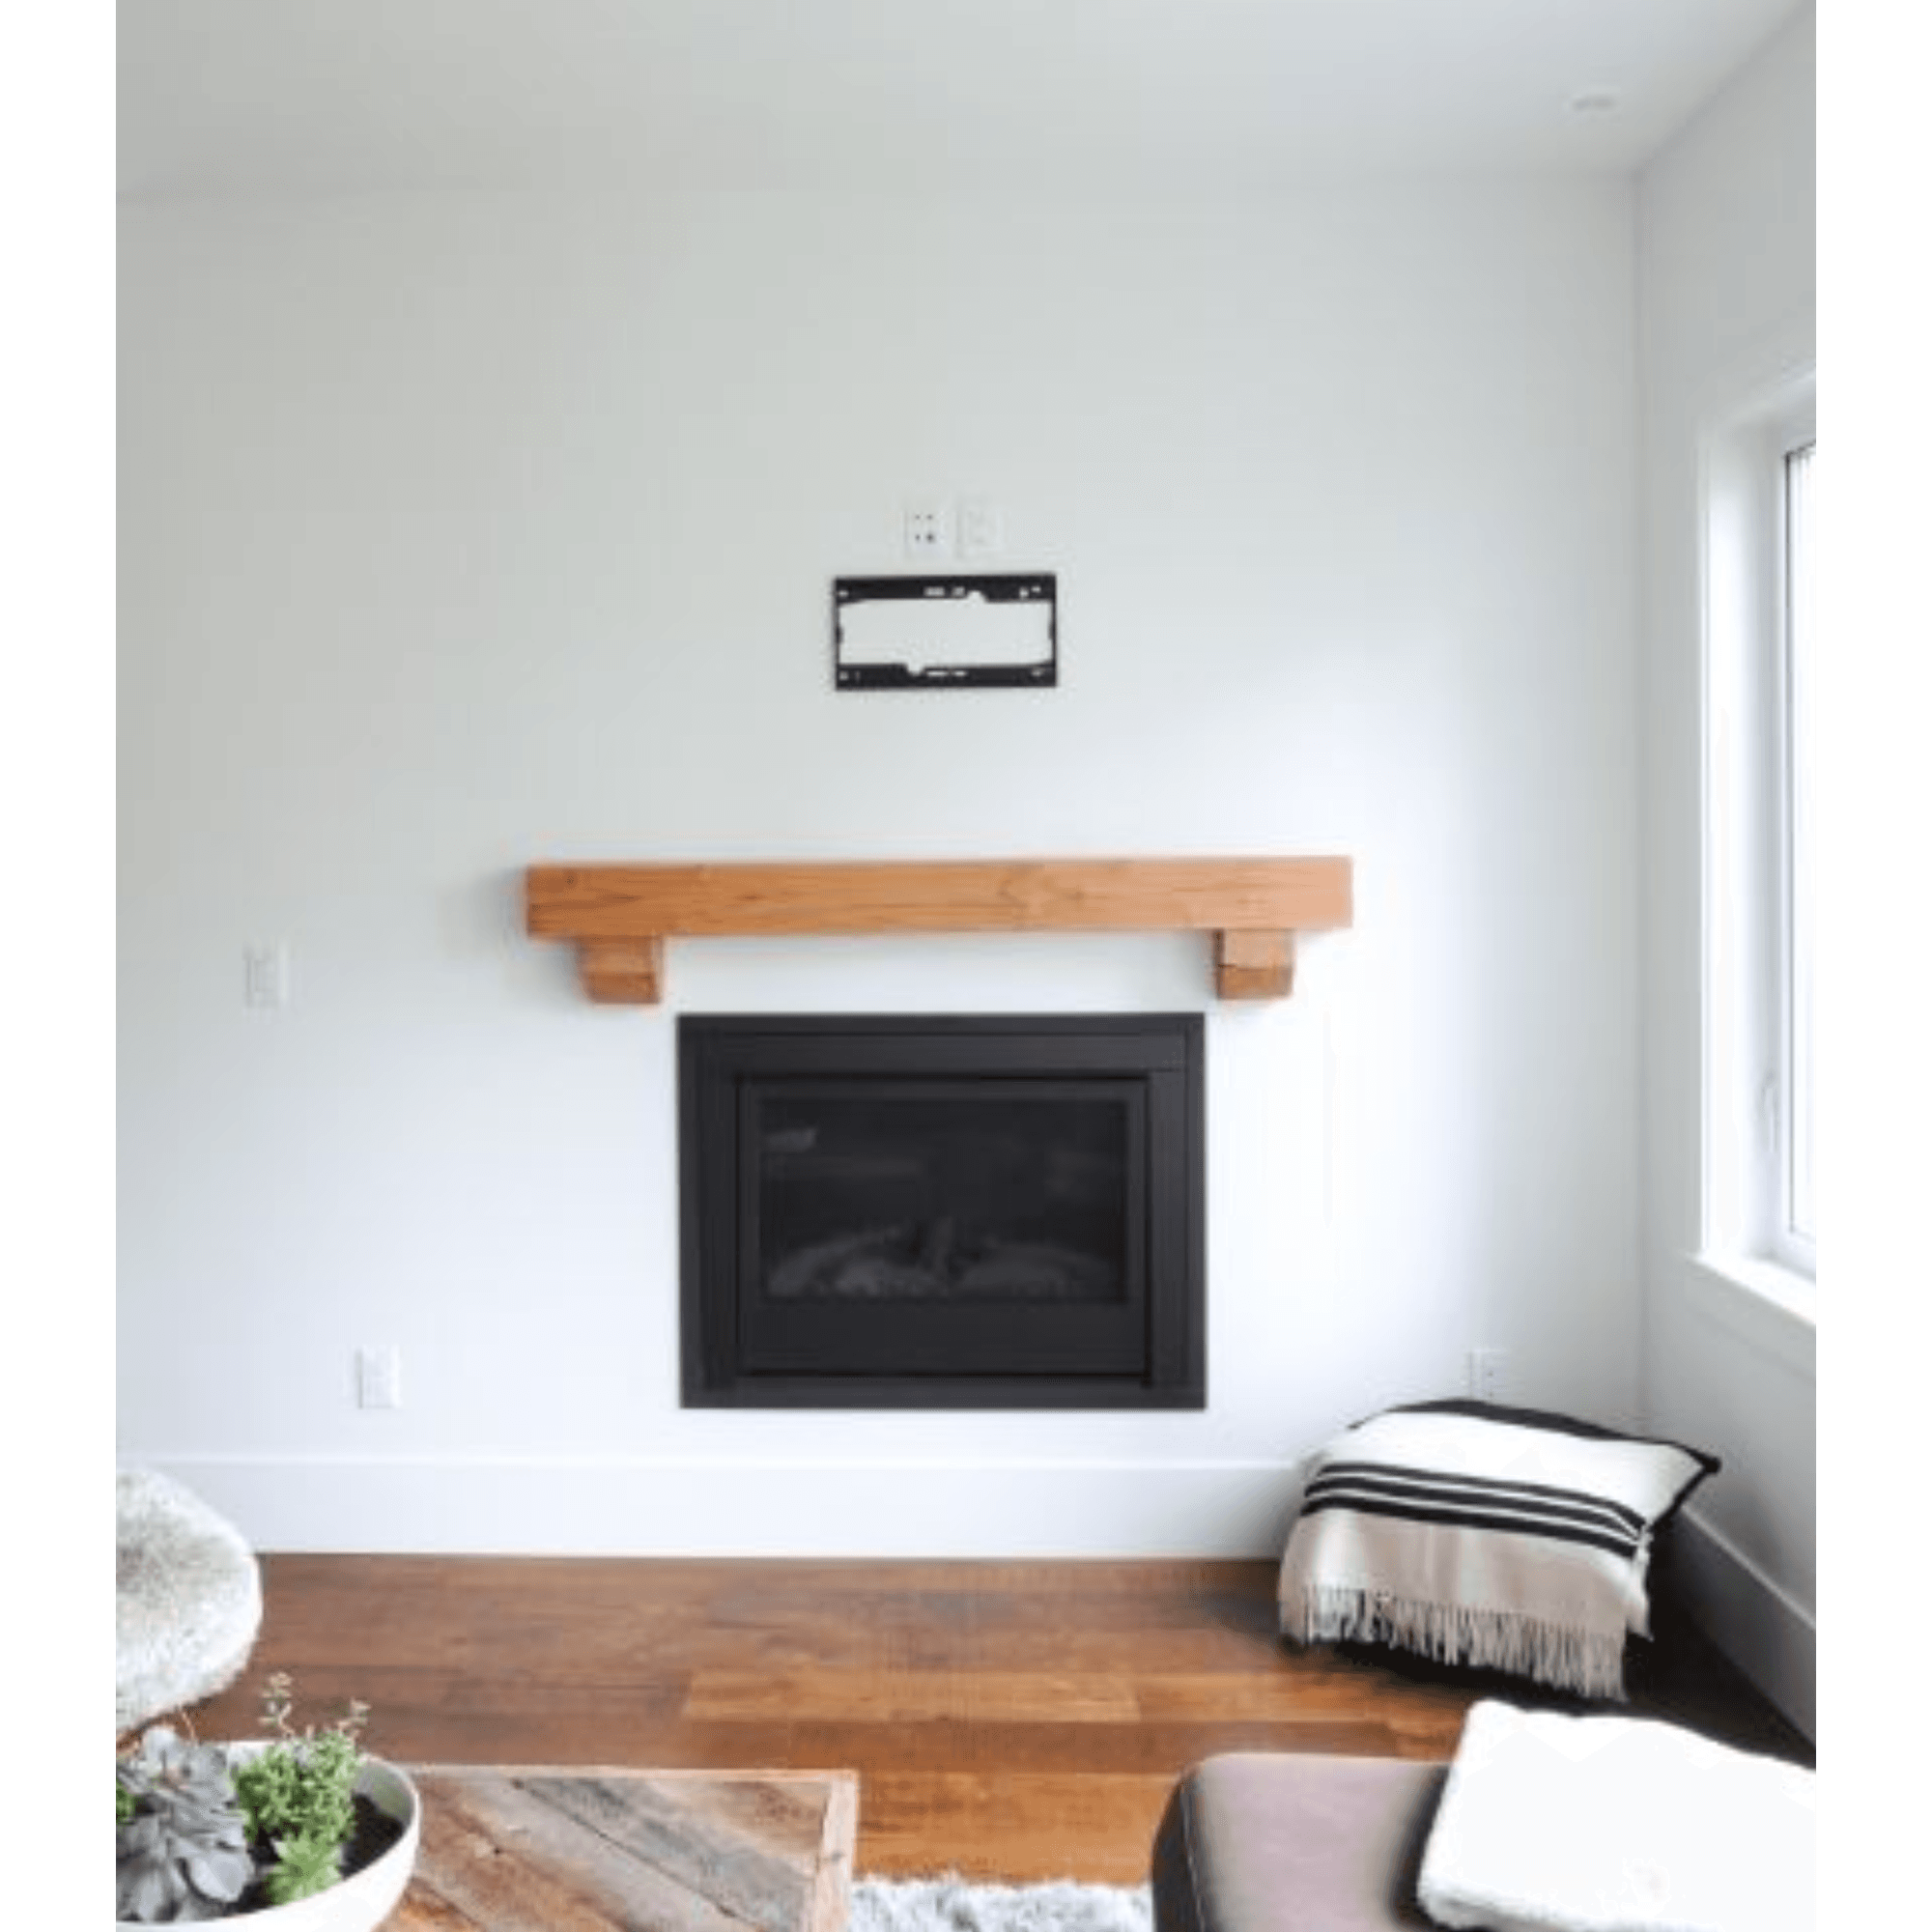
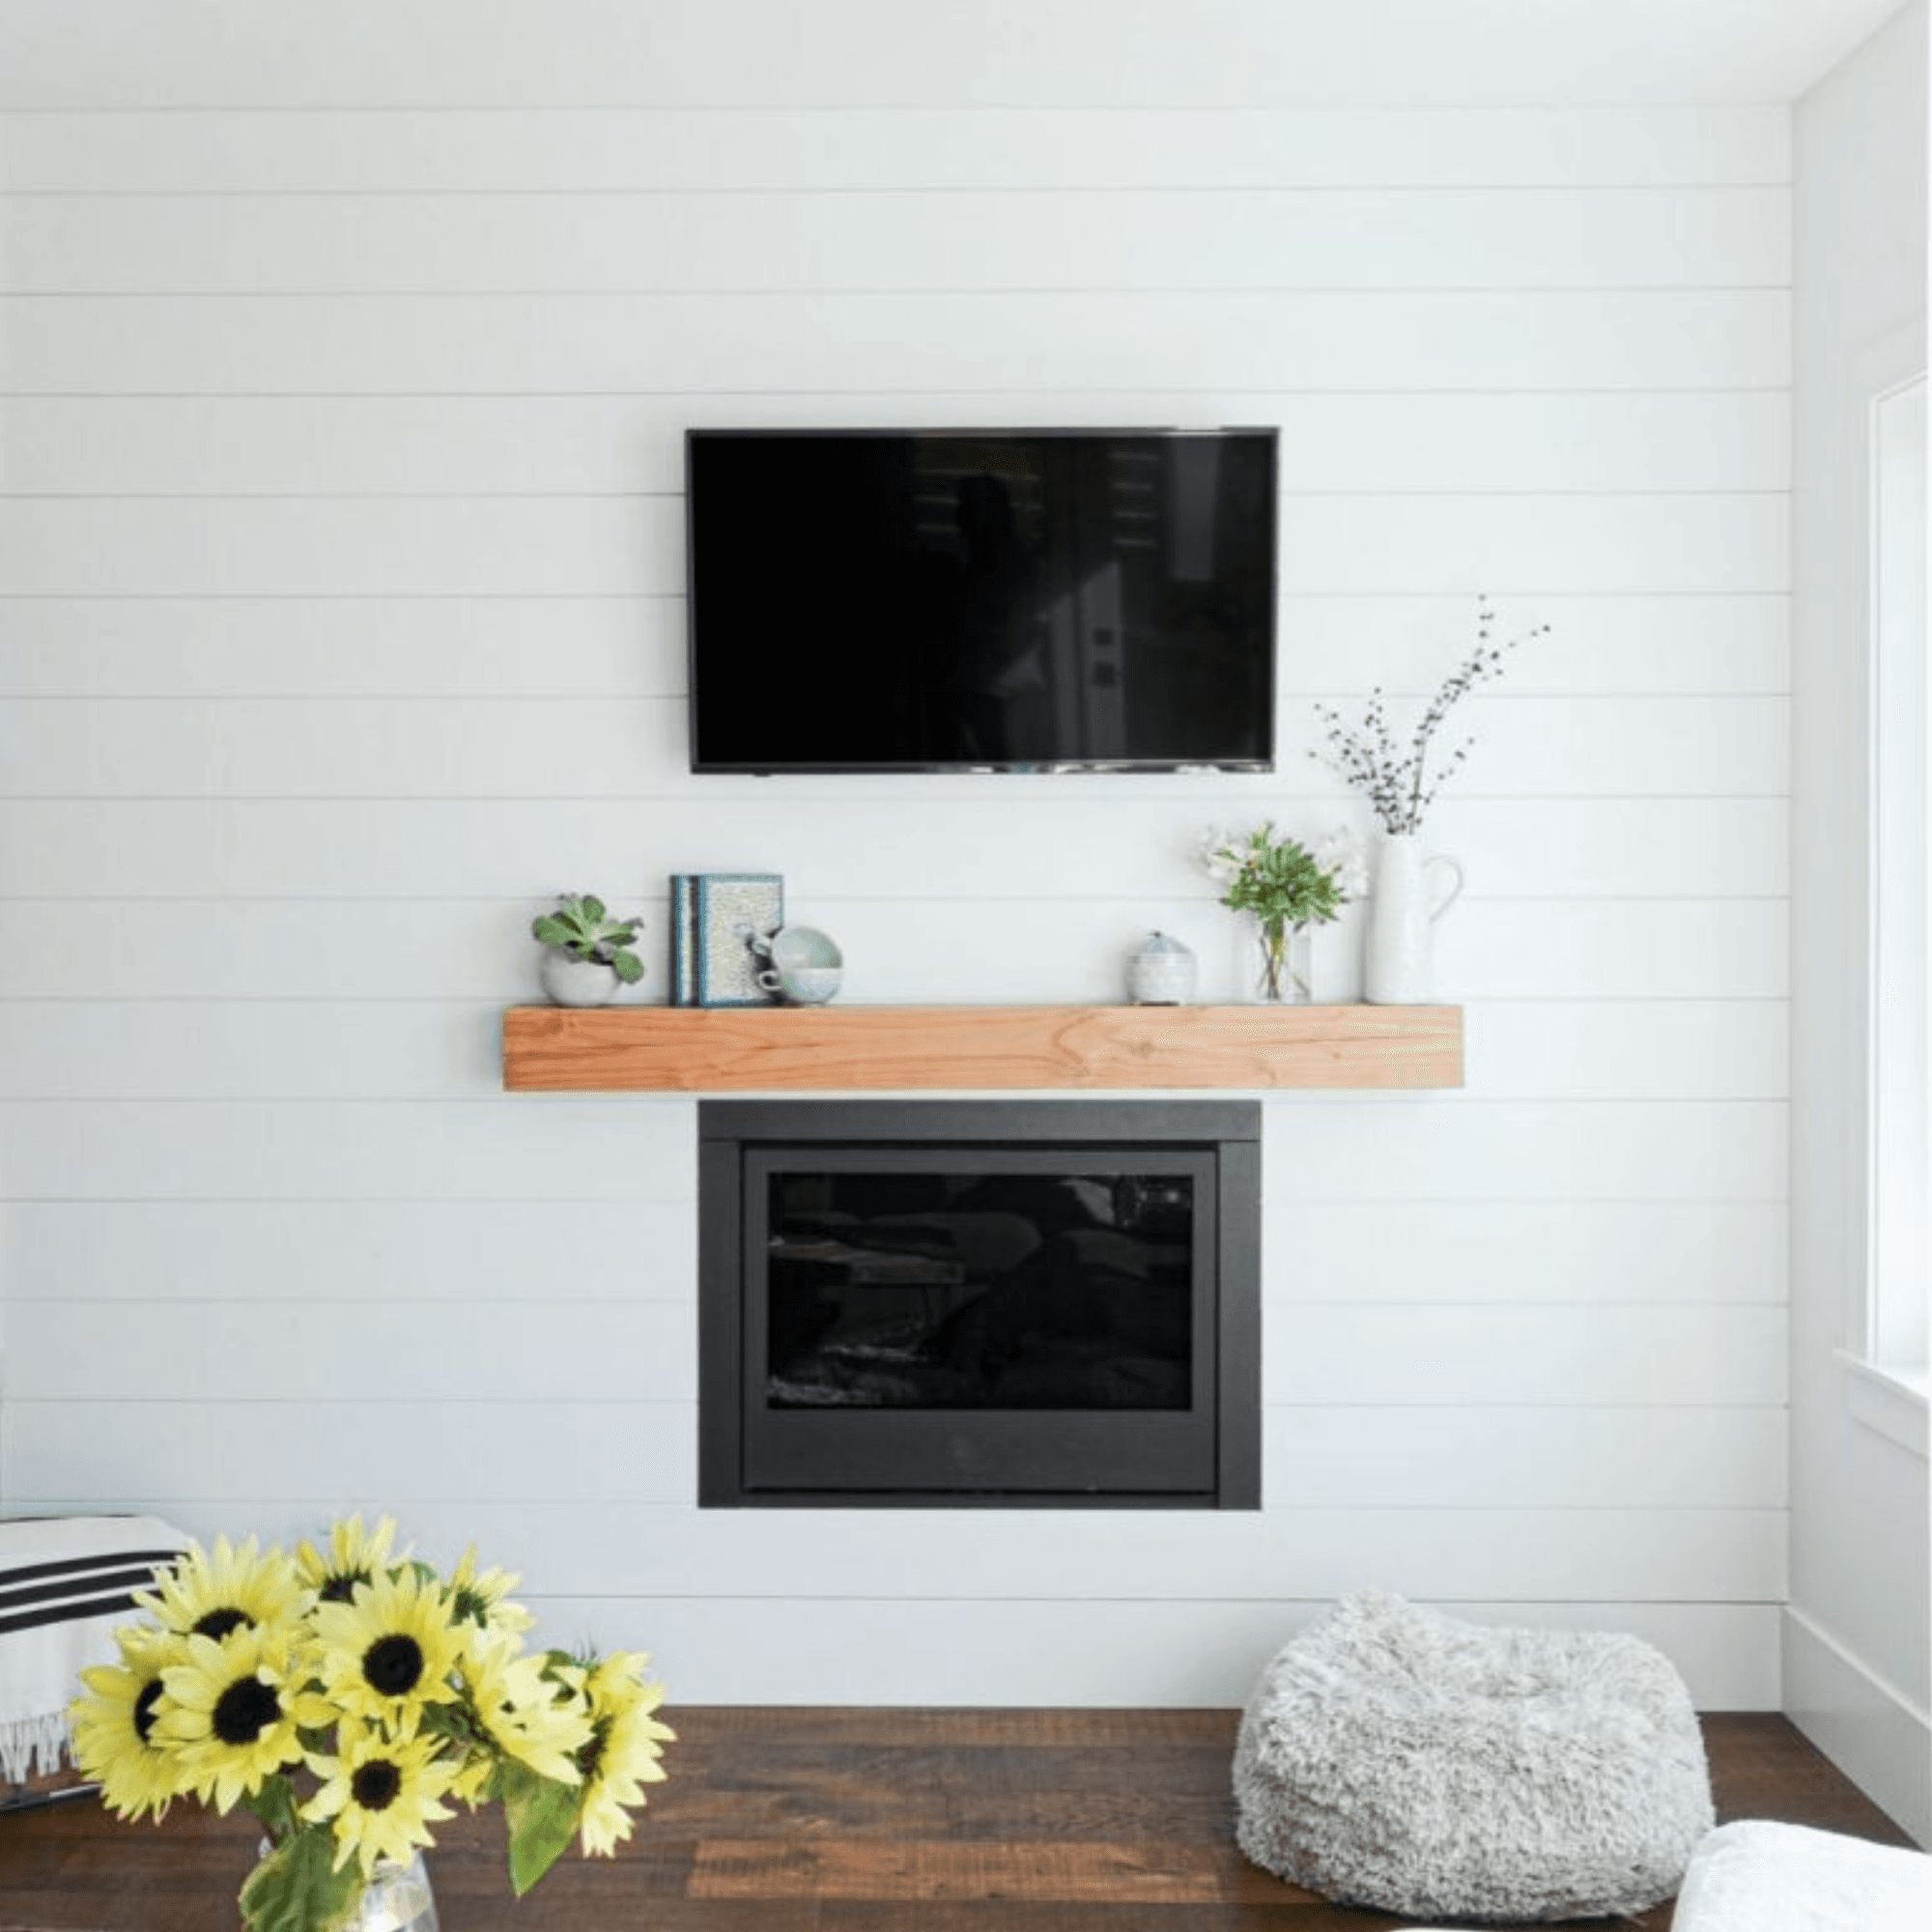
Recently, interior designer, Linda Annandale, turned to a Metrie’s Option {M} Modern Farmhouse shiplap add visual interest to her fireplace. It’s no secret this design trend has been on the rise ever since Fixer Upper duo Chip and Jo brought it to popularity. So, if you’ve been eager to get the look in your own home, you’re in luck—Linda has provided some helpful tips and tricks and answered some of the most common questions.
Before reaching for the nail gun, here are a few things to consider:
What style are you going for?
For a more traditional look, Linda recommends the 5-½ inch wide boards, but if you’re going for a more contemporary style, she advises the 7-¼ or 11-1/2 inch. The wider the shiplap board, the more contemporary the feel.
What is the length of your wall?
If it is longer than the length of your board, keep in mind you will need to adjoin two lengths together; which may look a bit more rustic. When it comes to achieving a Modern Farmhouse style, a single board spanning the entire length is more ideal to lend to this look.
How high are your ceilings? The overlap on shiplap boards is a ½ inch:

Linda recommends that when calculating how many boards high you will need, divide your wall height by 5 inches for a 5-½ inch board, or by 6-¾ inches for a 7-¼ inch board.
For example, an 8-foot ceiling is 96 inches.
5-½ inch shiplap requires 96” / 5” = 19.2 boards, round up to 20 boards
7-¼ inch shiplap requires 96” / 6.75” = 14.2 boards, round up to 15 boards
11-½ inch shiplap requires 96” / 11” = 8.7 boards, round up to 9 boards
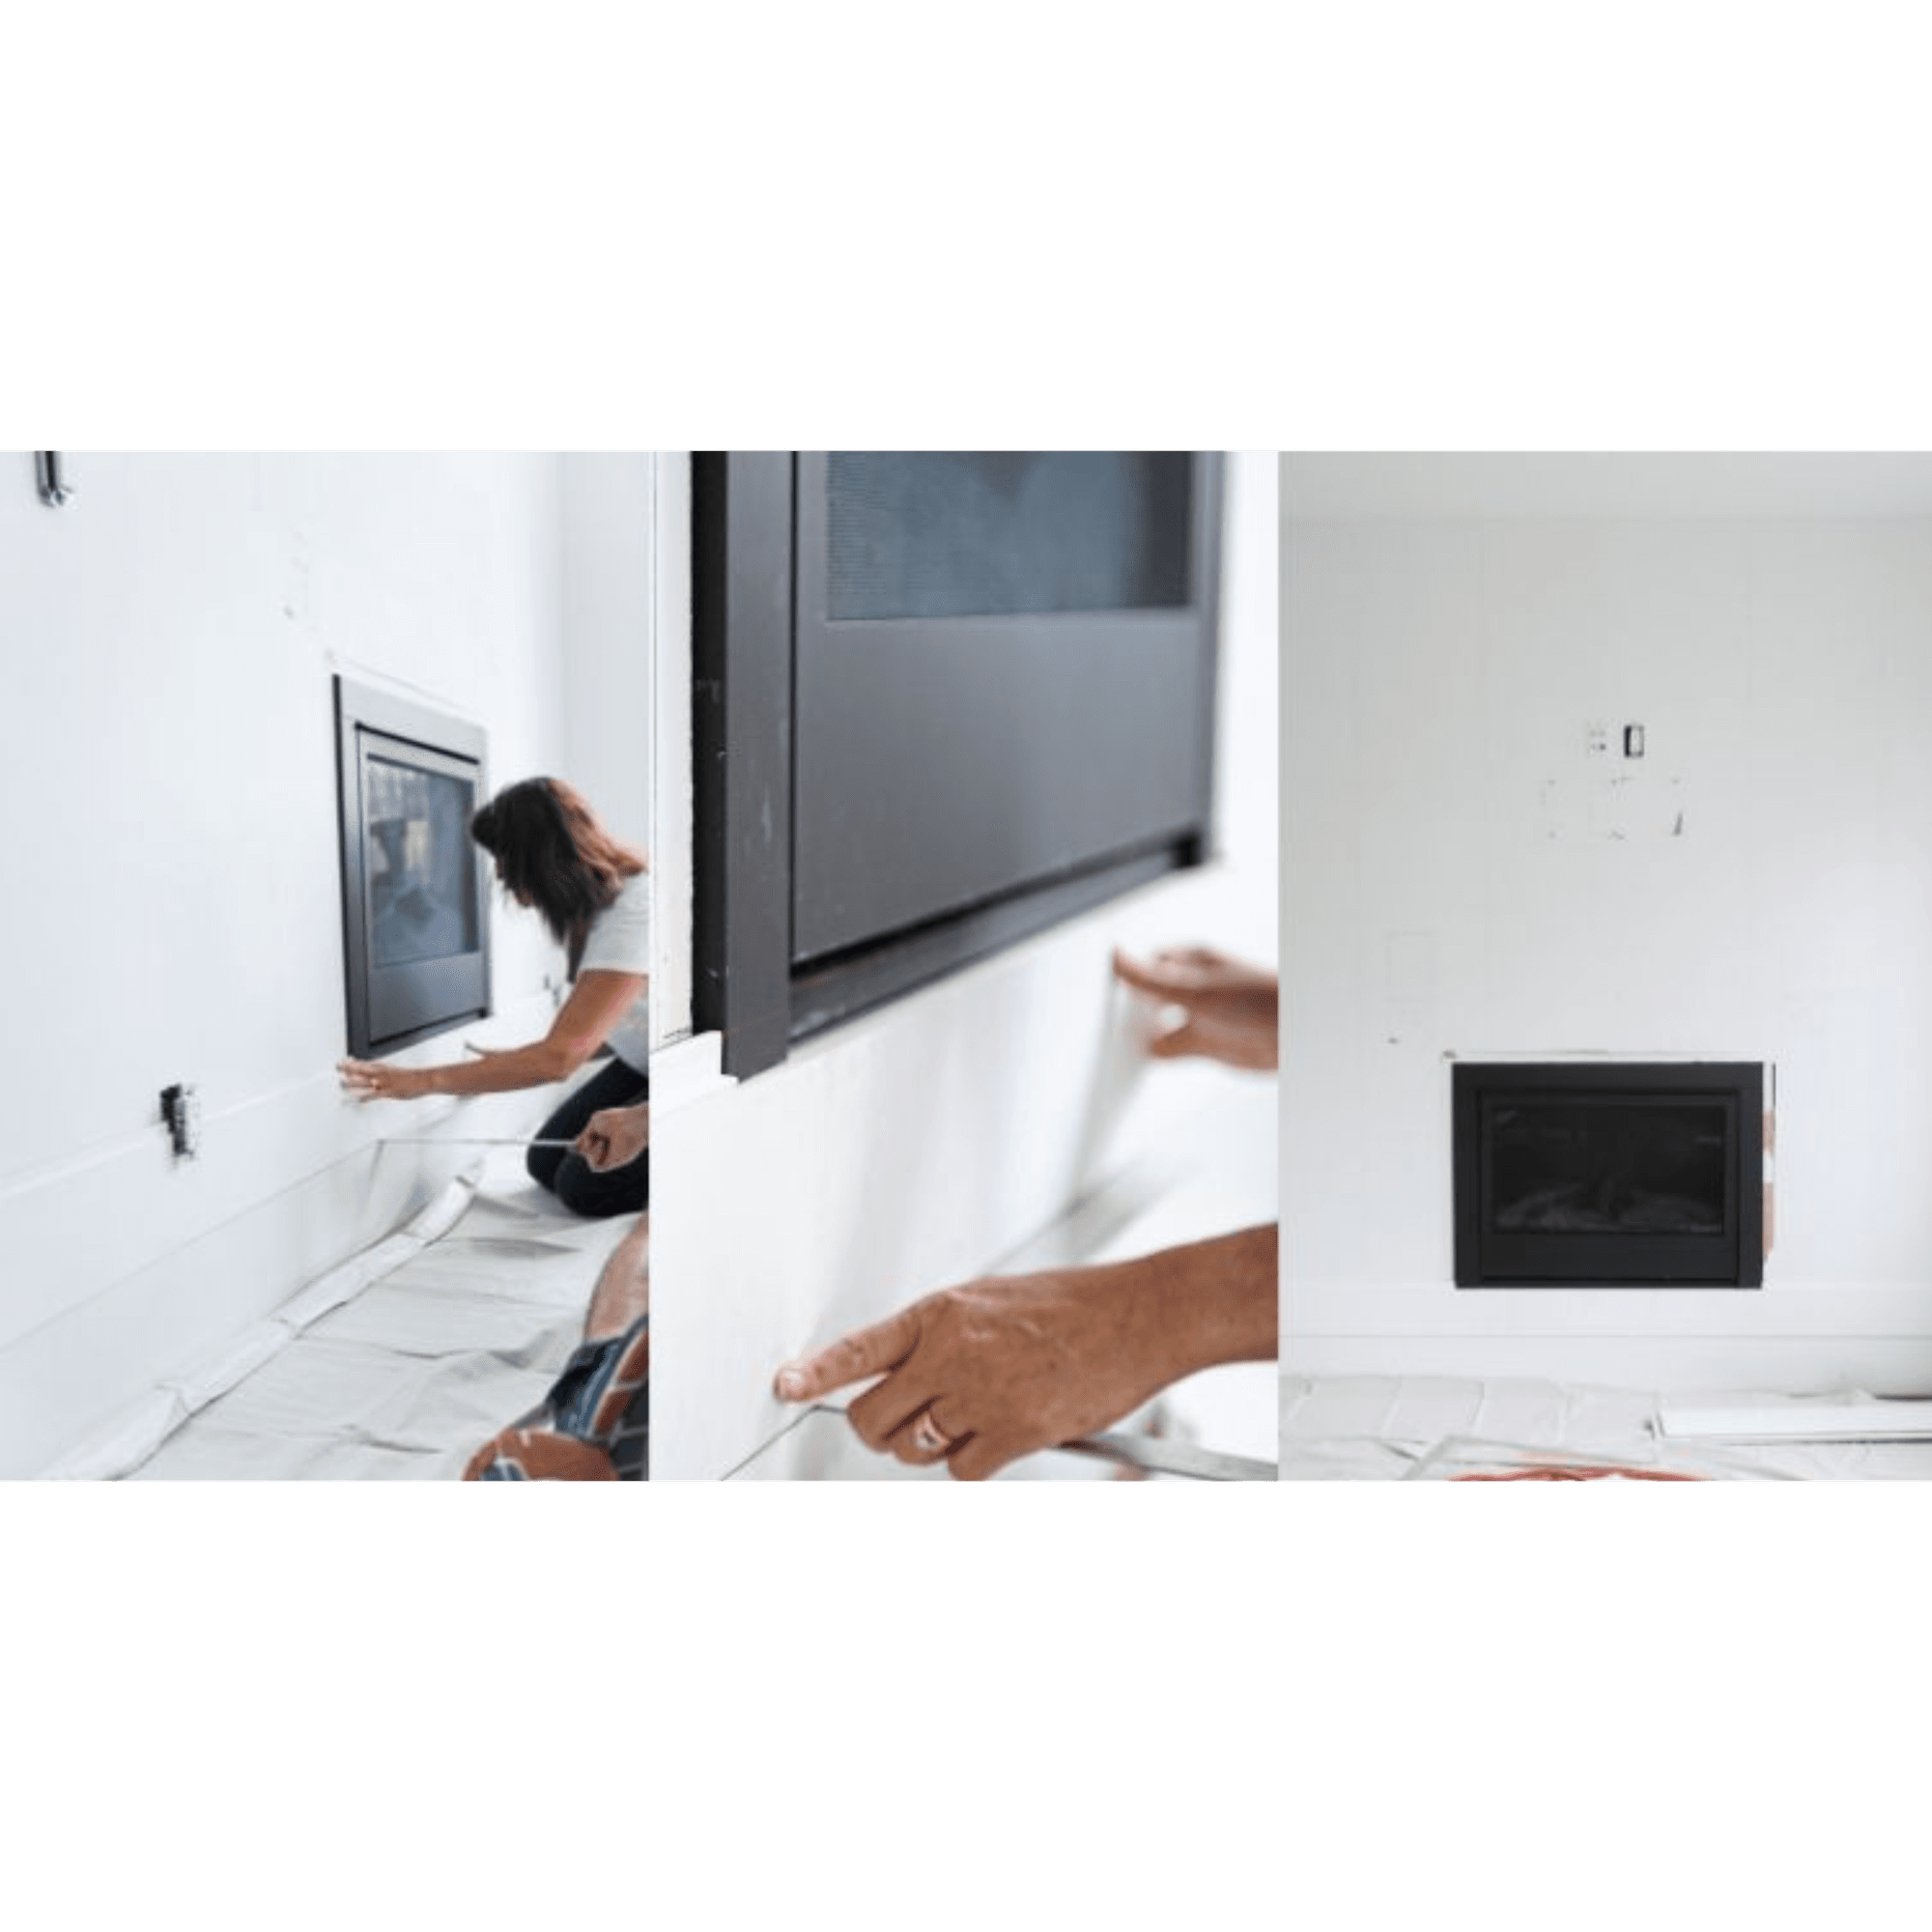
Now, you’re ready for install! Marking the studs:
Find the studs using a stud finder.
Mark a line in pencil from floor to ceiling that shows the center of the stud. Since the bottom of the next board covers the nails on each board below, it is necessary to mark the lines so that you know where to place the nails as you go up the wall.
Nail into the studs that are behind the drywall or the shiplap boards will not hold.
Dealing with baseboards: If your wall has existing baseboards that you want to keep, you have a few options: If the baseboard is thicker than the shiplap, you can start with the first board touching the baseboard. If they are the same thickness, leaving a 1/8-inch space between the shiplap and the baseboard will give the impression that the shiplap starts at the floor.
If your wall does not have baseboards or you are planning on replacing existing baseboards, you can start your first shiplap board anywhere from the floor level to a few inches above to help with balancing the top board. Make sure that your baseboard will cover the space between the floor and the bottom of the shiplap, while having enough shiplap board behind it to support it.
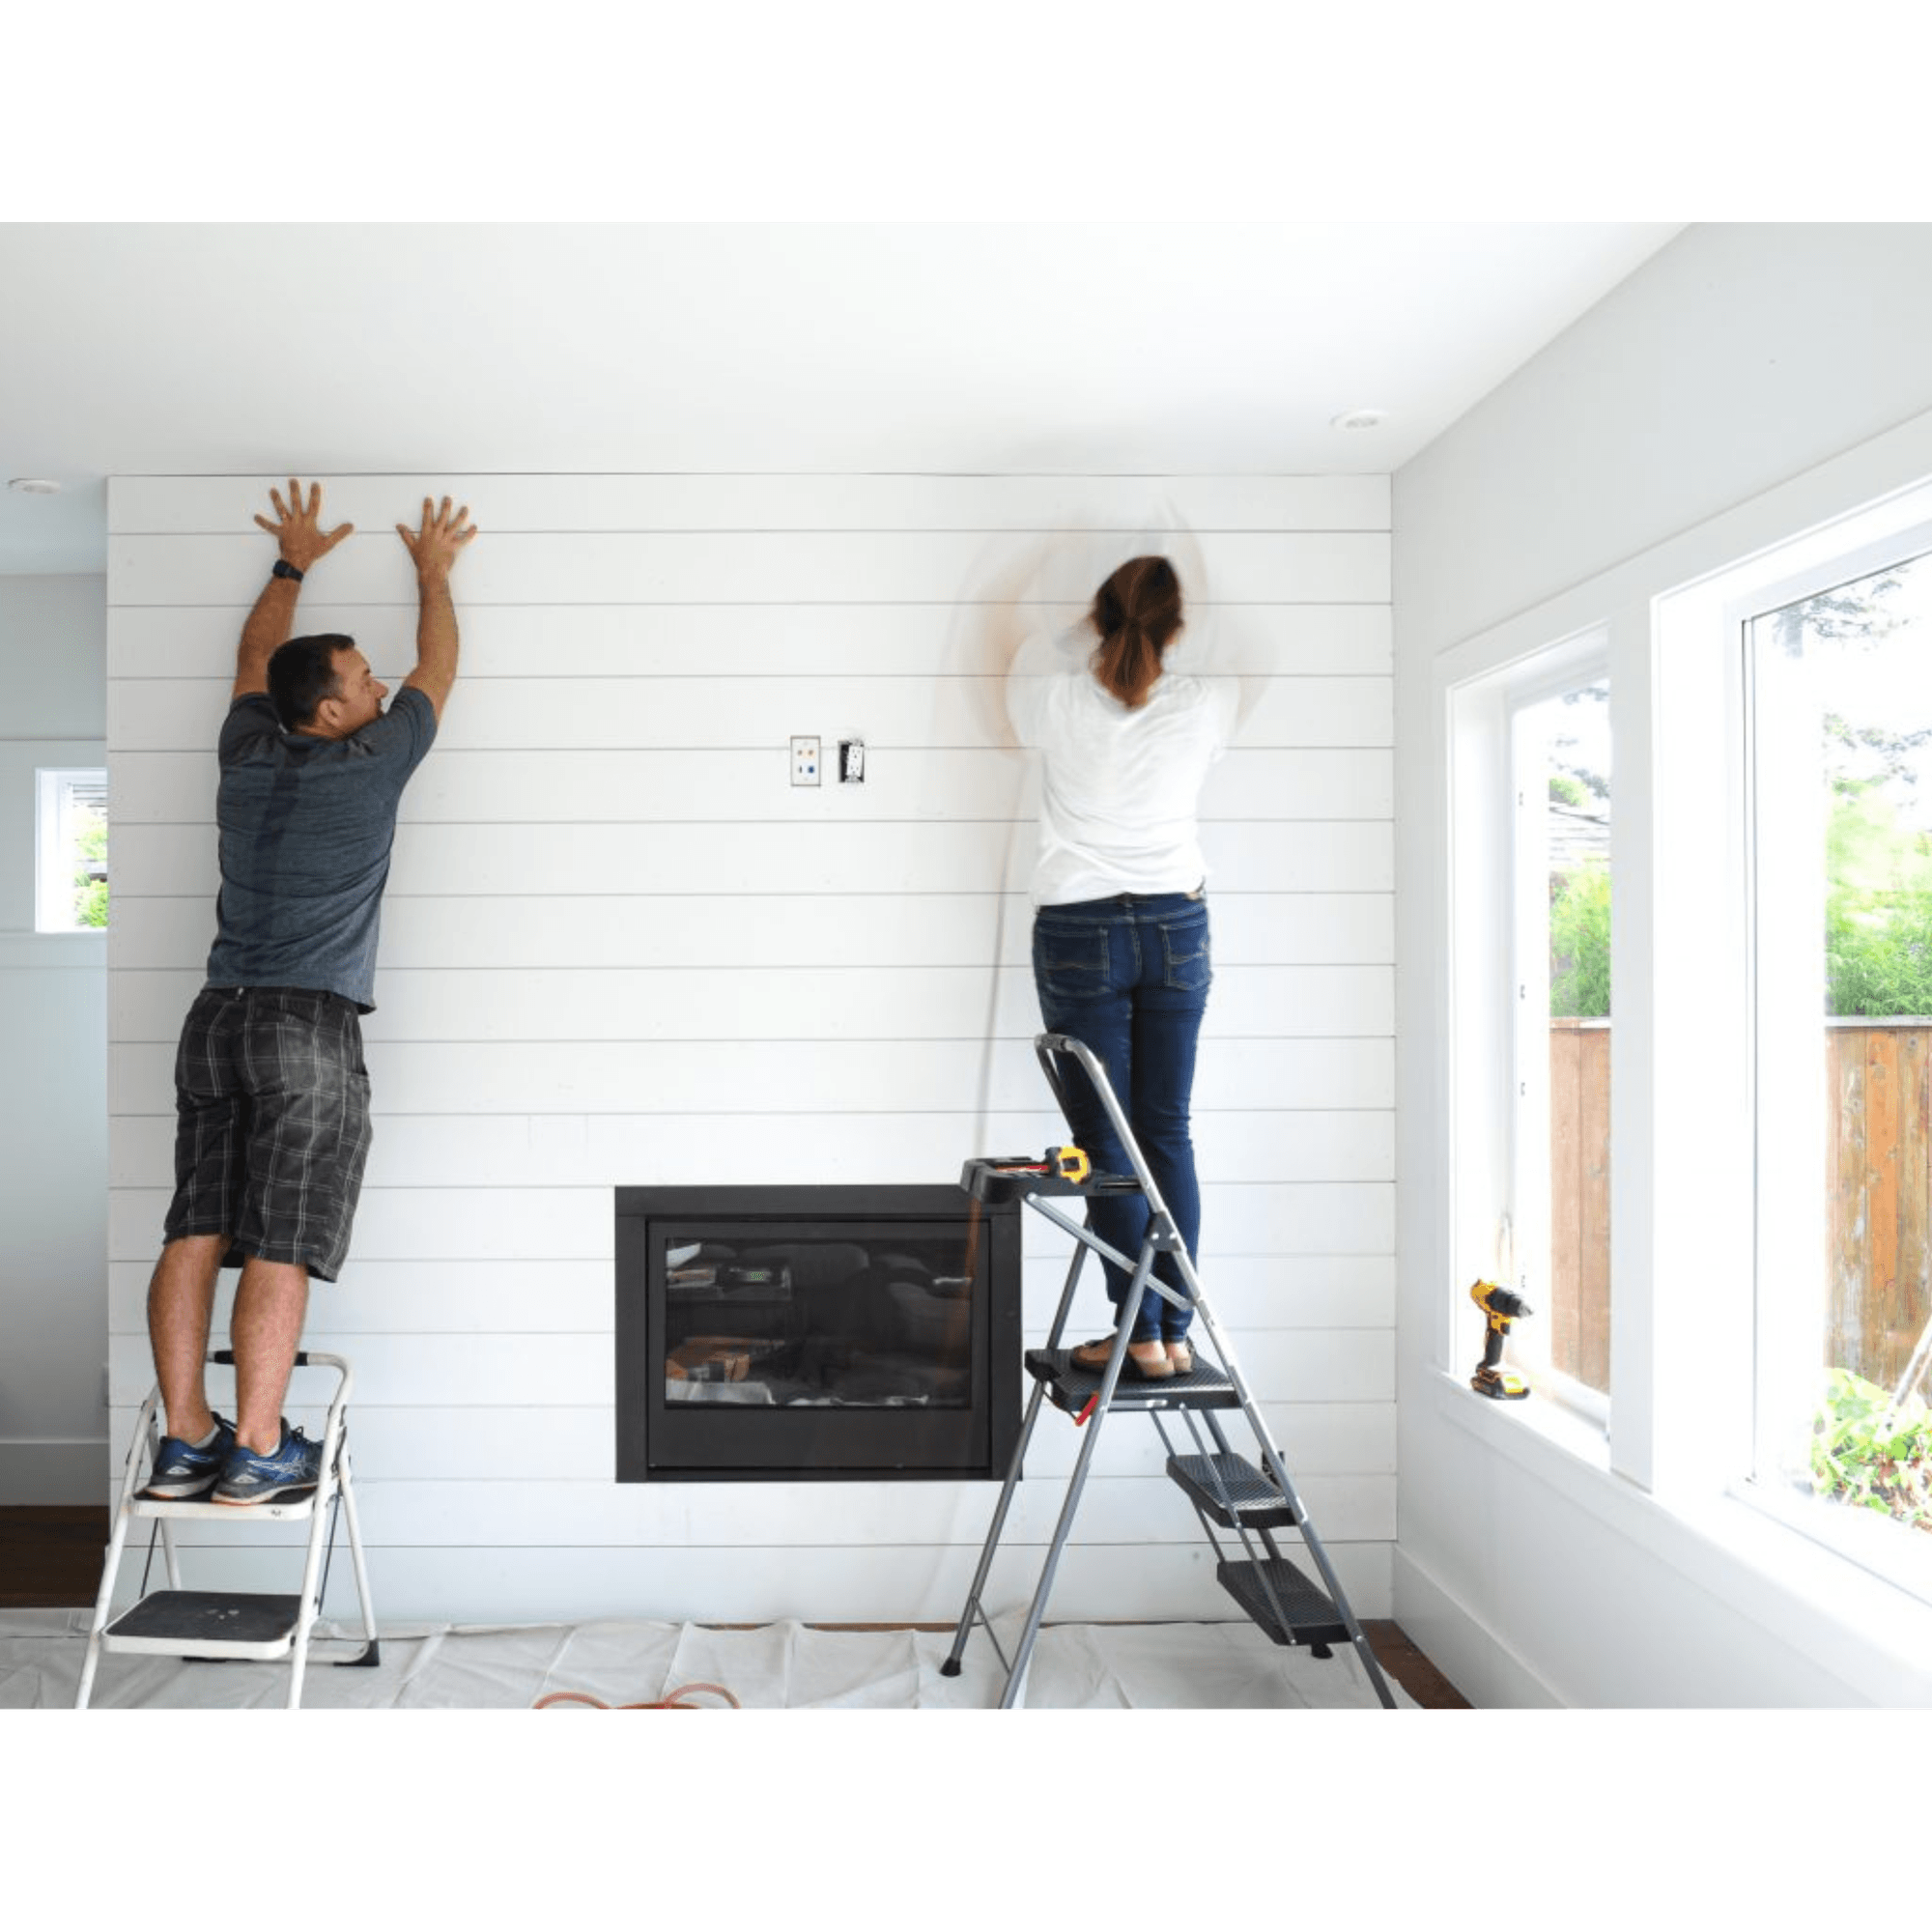
Leveling the first board is key: You must get this right at the start, or your shiplap will be crooked all the way up the wall!
Quick Tip from Linda: Continue to check the level on your boards as you install. If you can, use a laser level, they are invaluable and fun! If not, a long level is necessary.
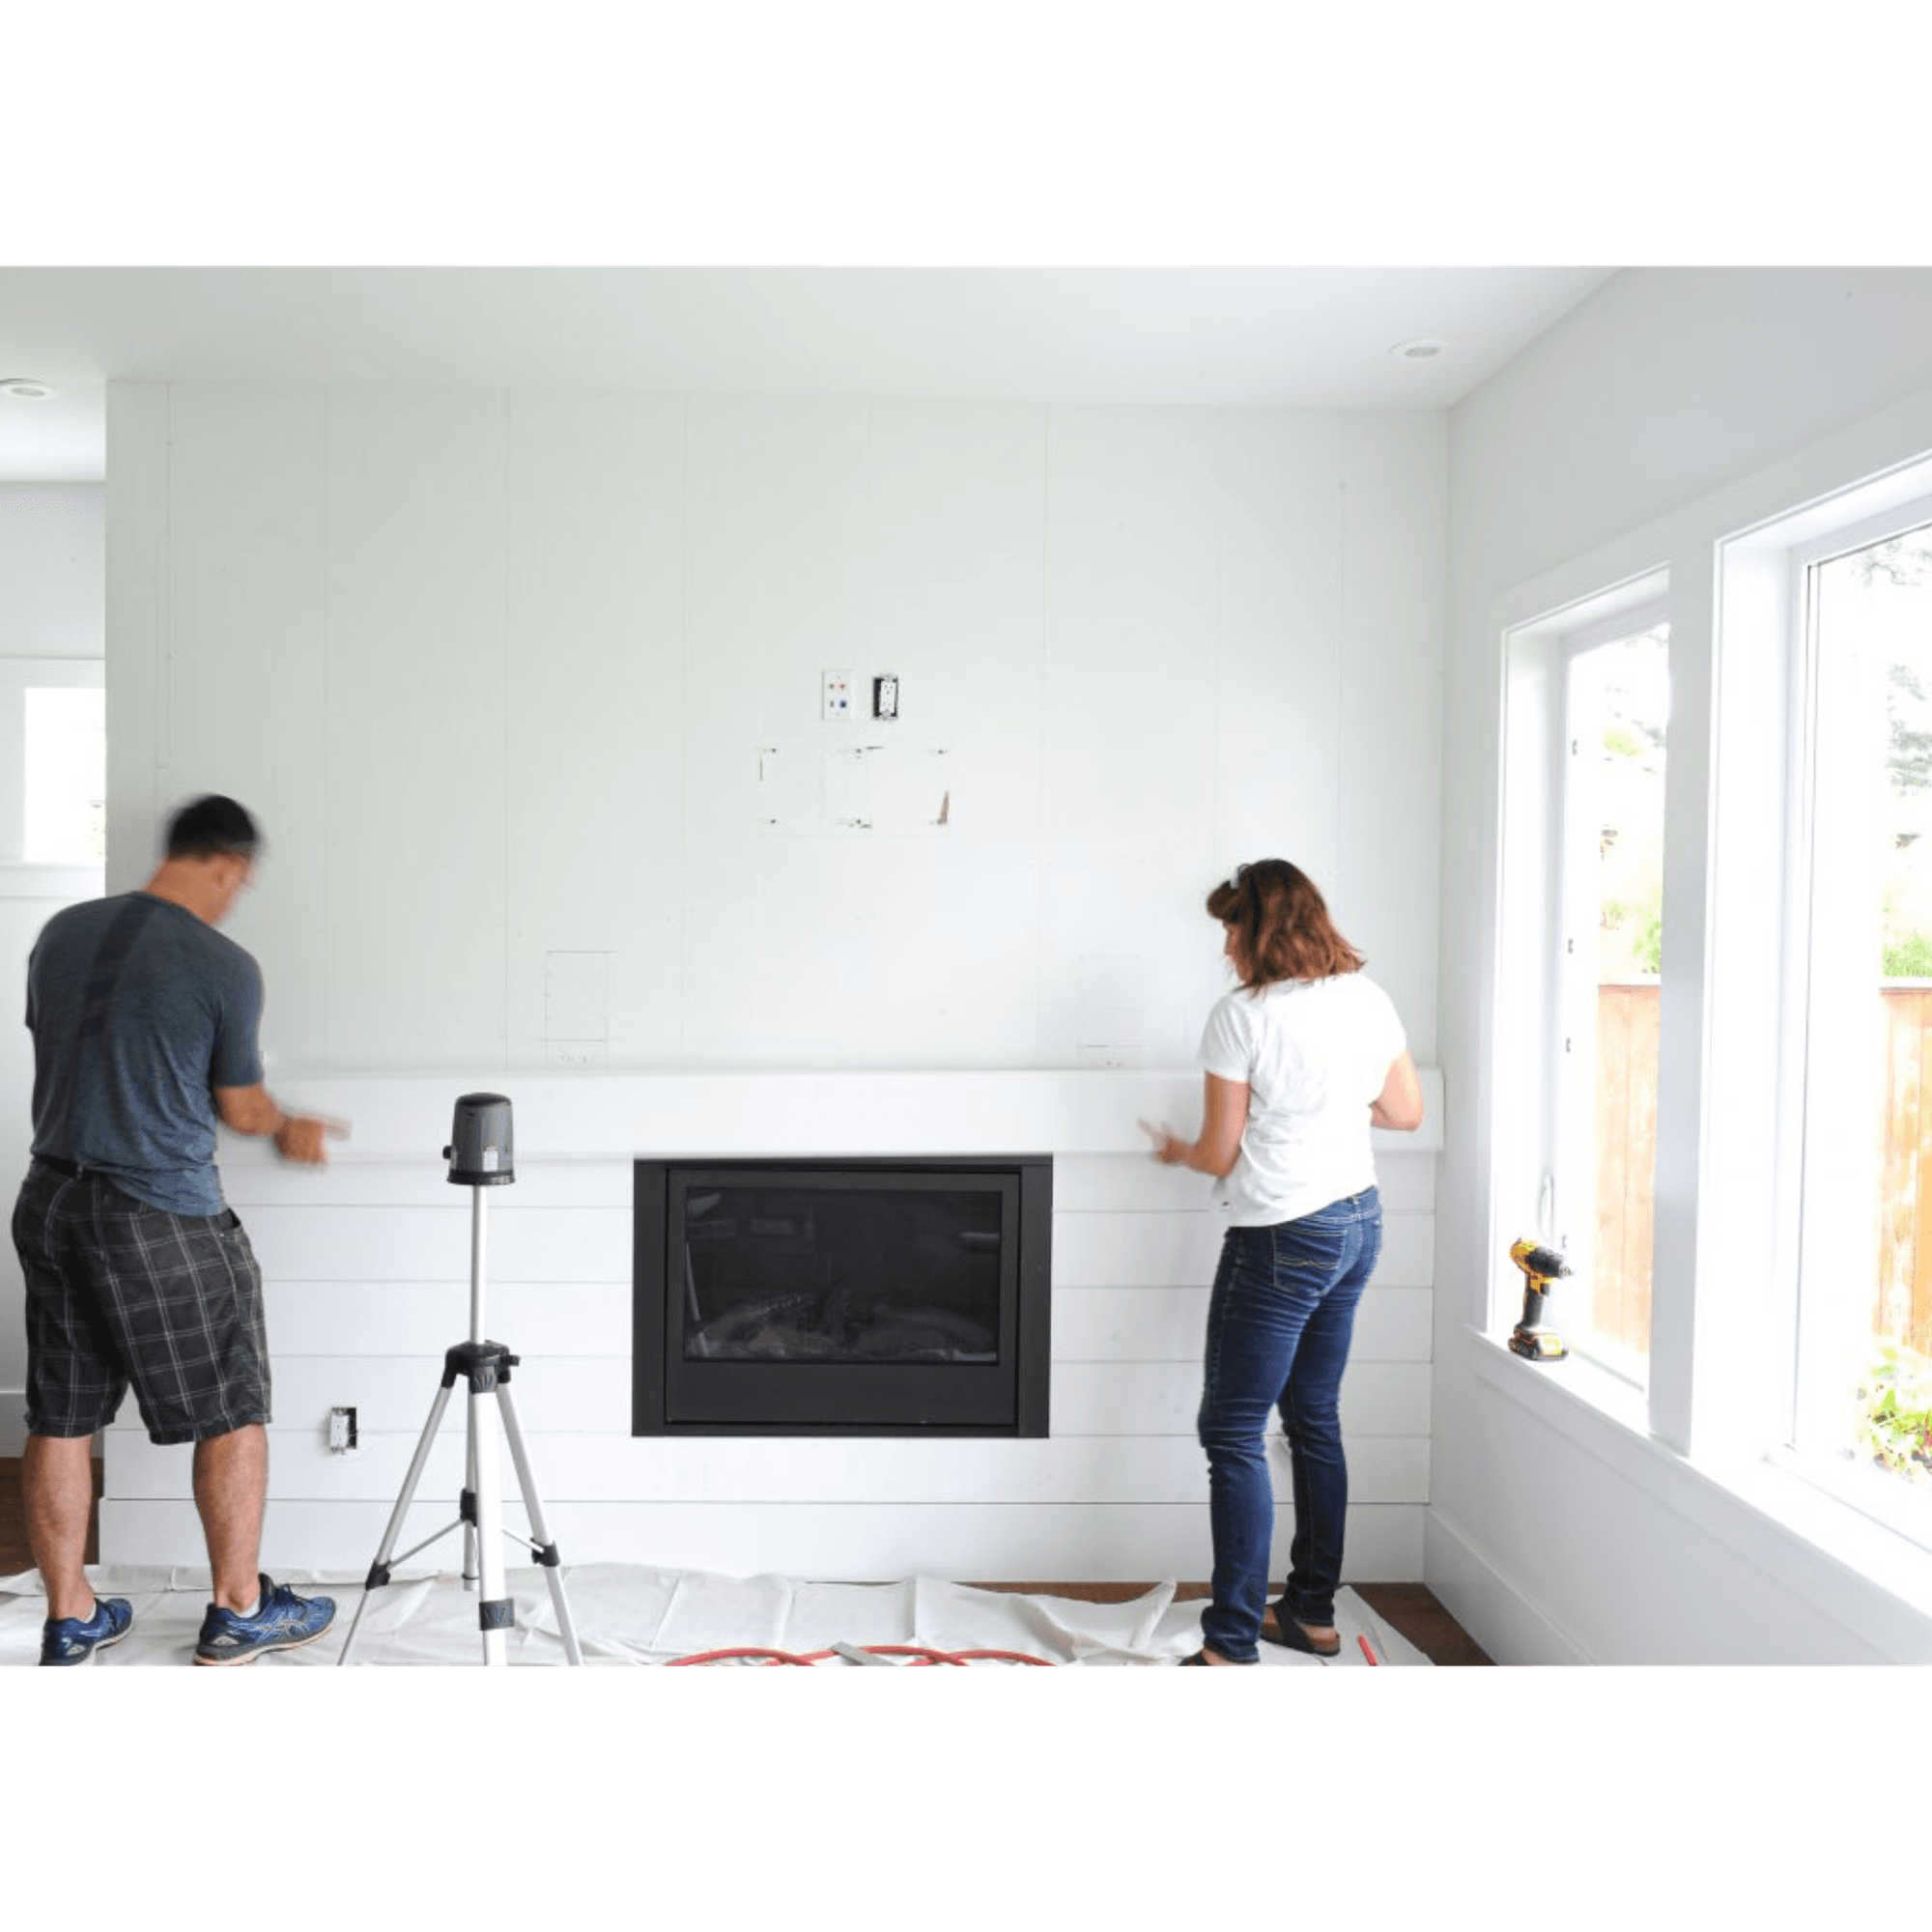
You can make little adjustments as you go that will not be visible to the naked eye, but major adjustments will leave too large of a visual space between the boards.
Nailing to the wall:
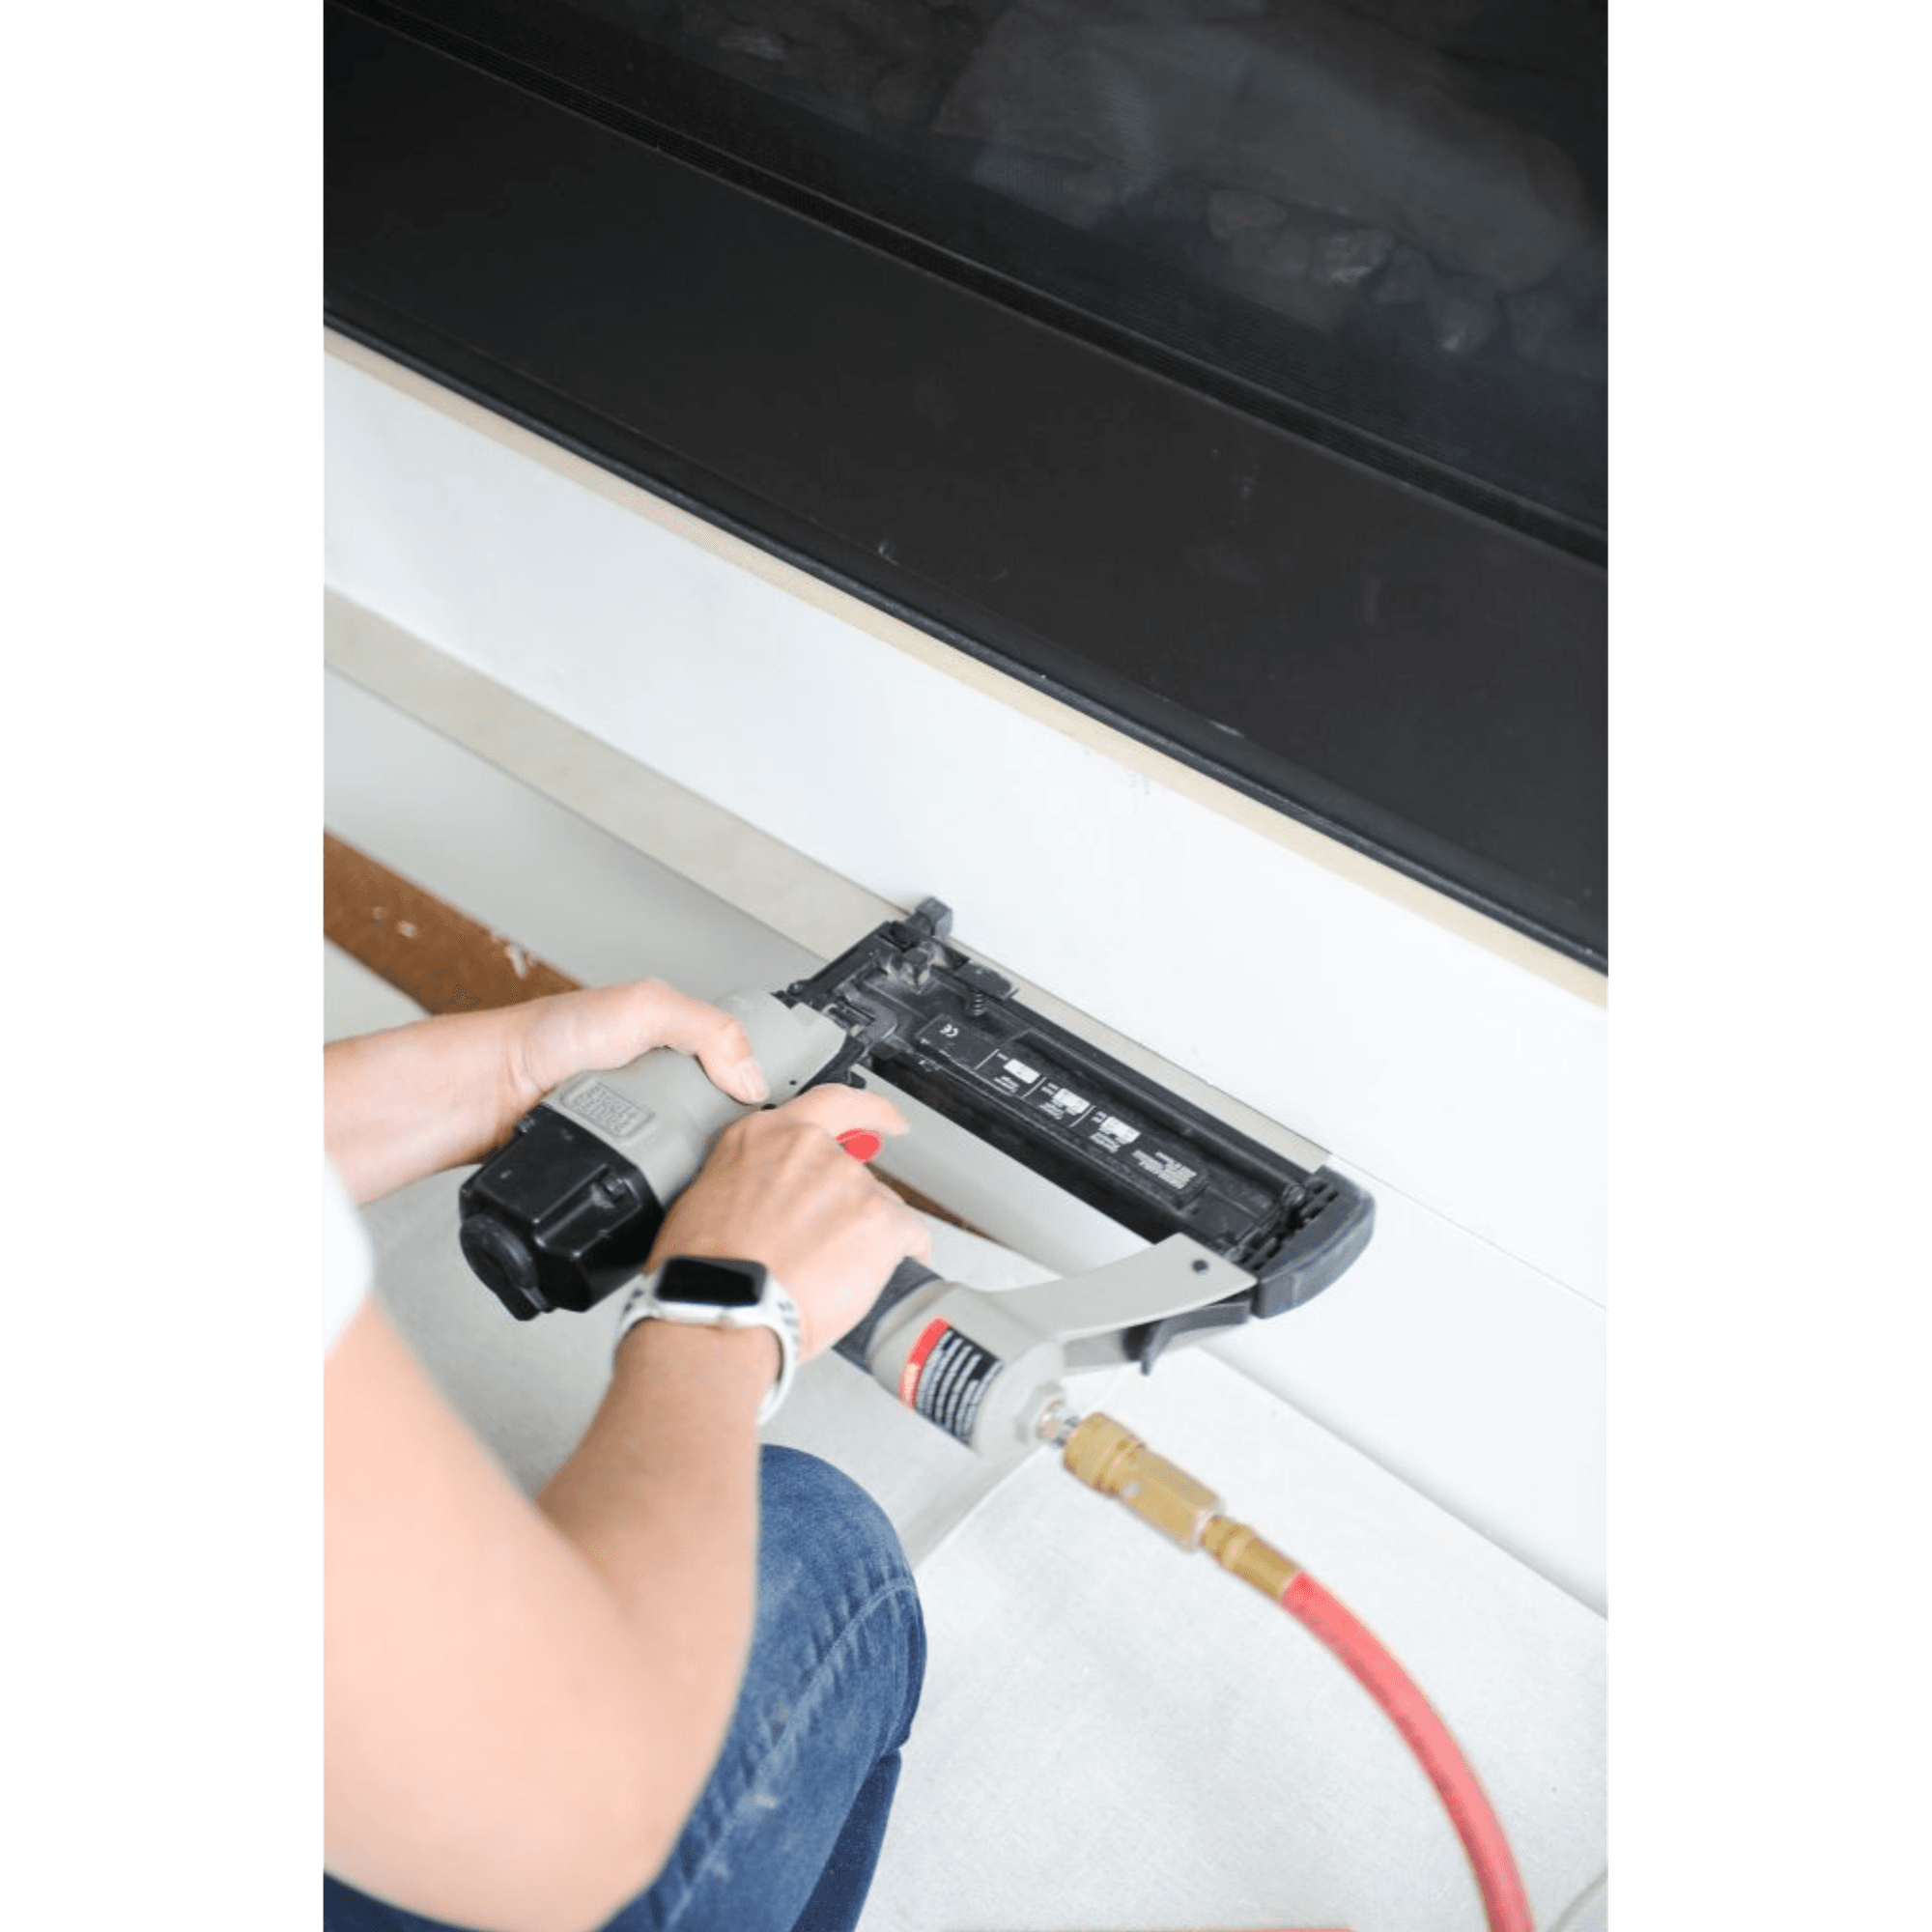
Install the shiplap with an air compressor brad nail gun using 2-inch brads of 18 or 20 gauge. Nail two brads on the tongue at each stud line. Since most walls are not straight, nailing a brad on the front of the board, about 1-½ to 2 inches from the bottom helps keep the shiplap tight to the board below.
Take it one board at a time: Since walls are never straight, precutting all of your boards may leave you with gaps that are hard to conceal with caulking, Linda recommends measuring each shiplap board as you go along.
Measuring for light switches or electrical sockets: Make sure you turn the power to the socket off before unscrewing and pulling it forward. The socket will need to sit in front of the shiplap once installed.
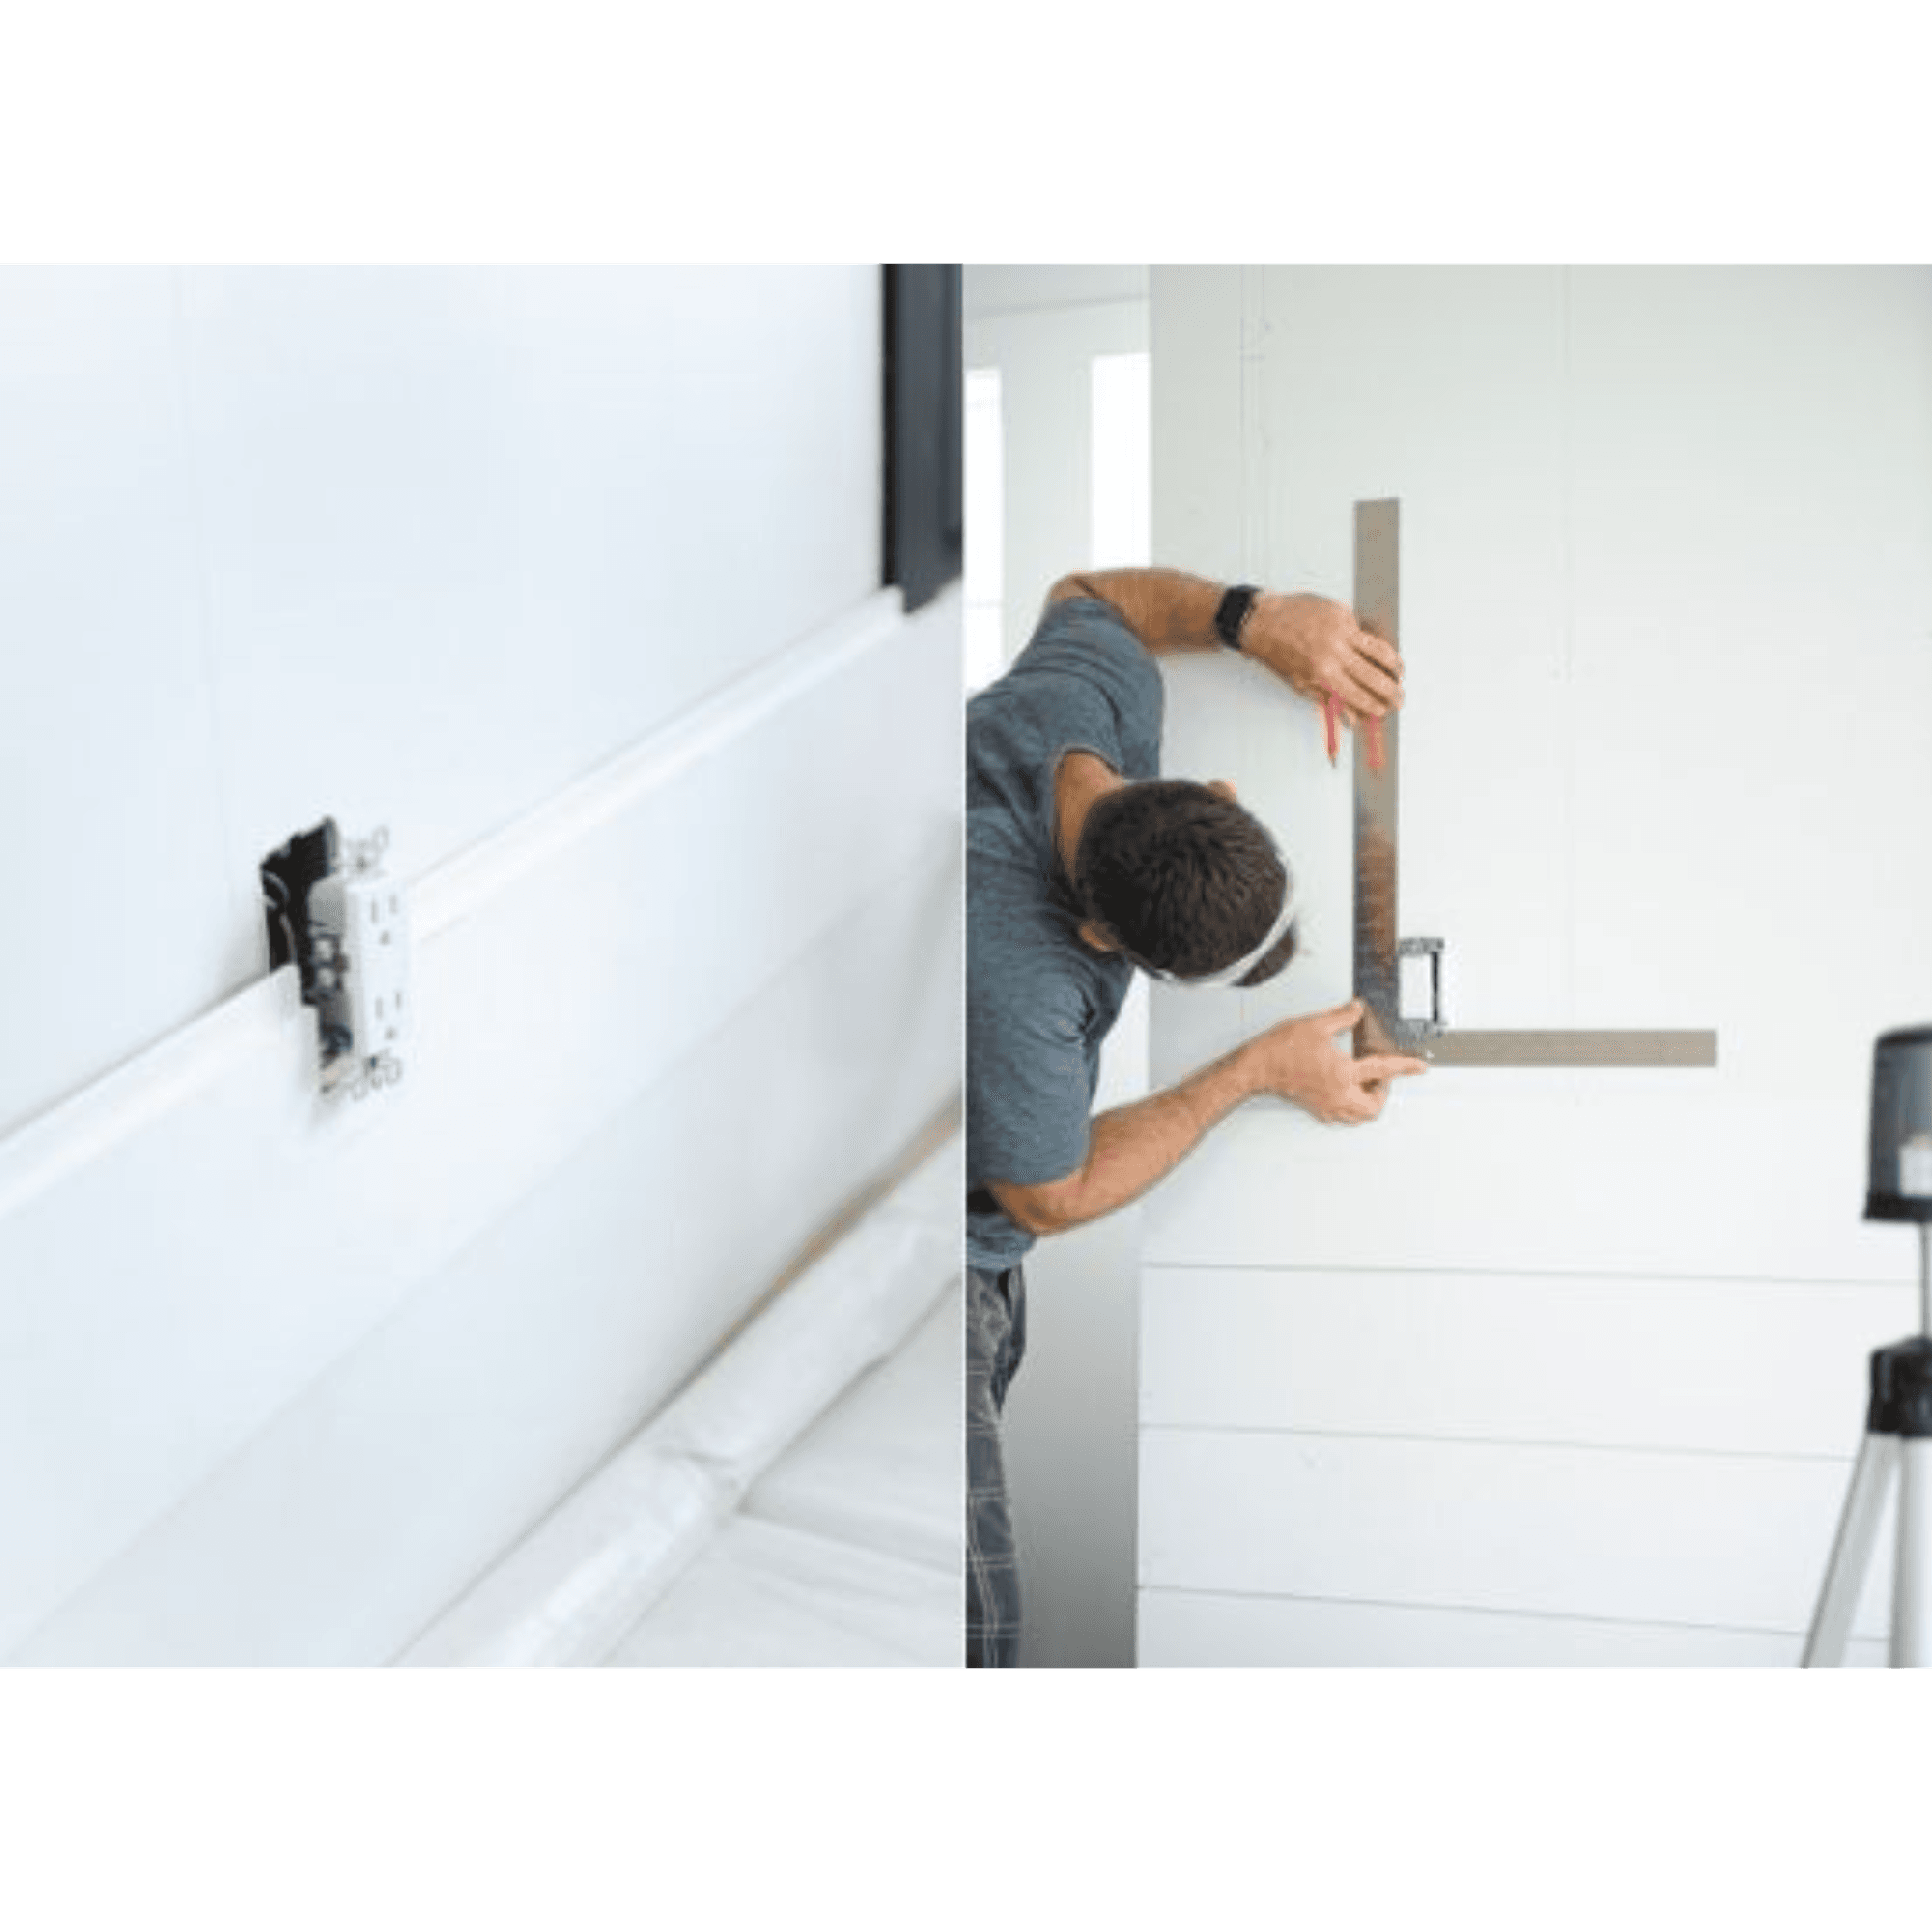
When the board that you are installing needs cutouts to accommodate the sockets (or fireplaces), you can hold your board below the socket and mark the side placements with a pencil, and then check your measurements with a measuring tape. Have a little scrap board piece (about 6 to 10 inches wide) with you so that you can mark the bottom or top placement of the socket on the scrap piece and transfer these measurements onto your shiplap board. Because the shiplap plank sits on top of the board below with a gap, it’s challenging to simply use a measuring tape for the top and bottom measurements.
Getting tight joints and seams:
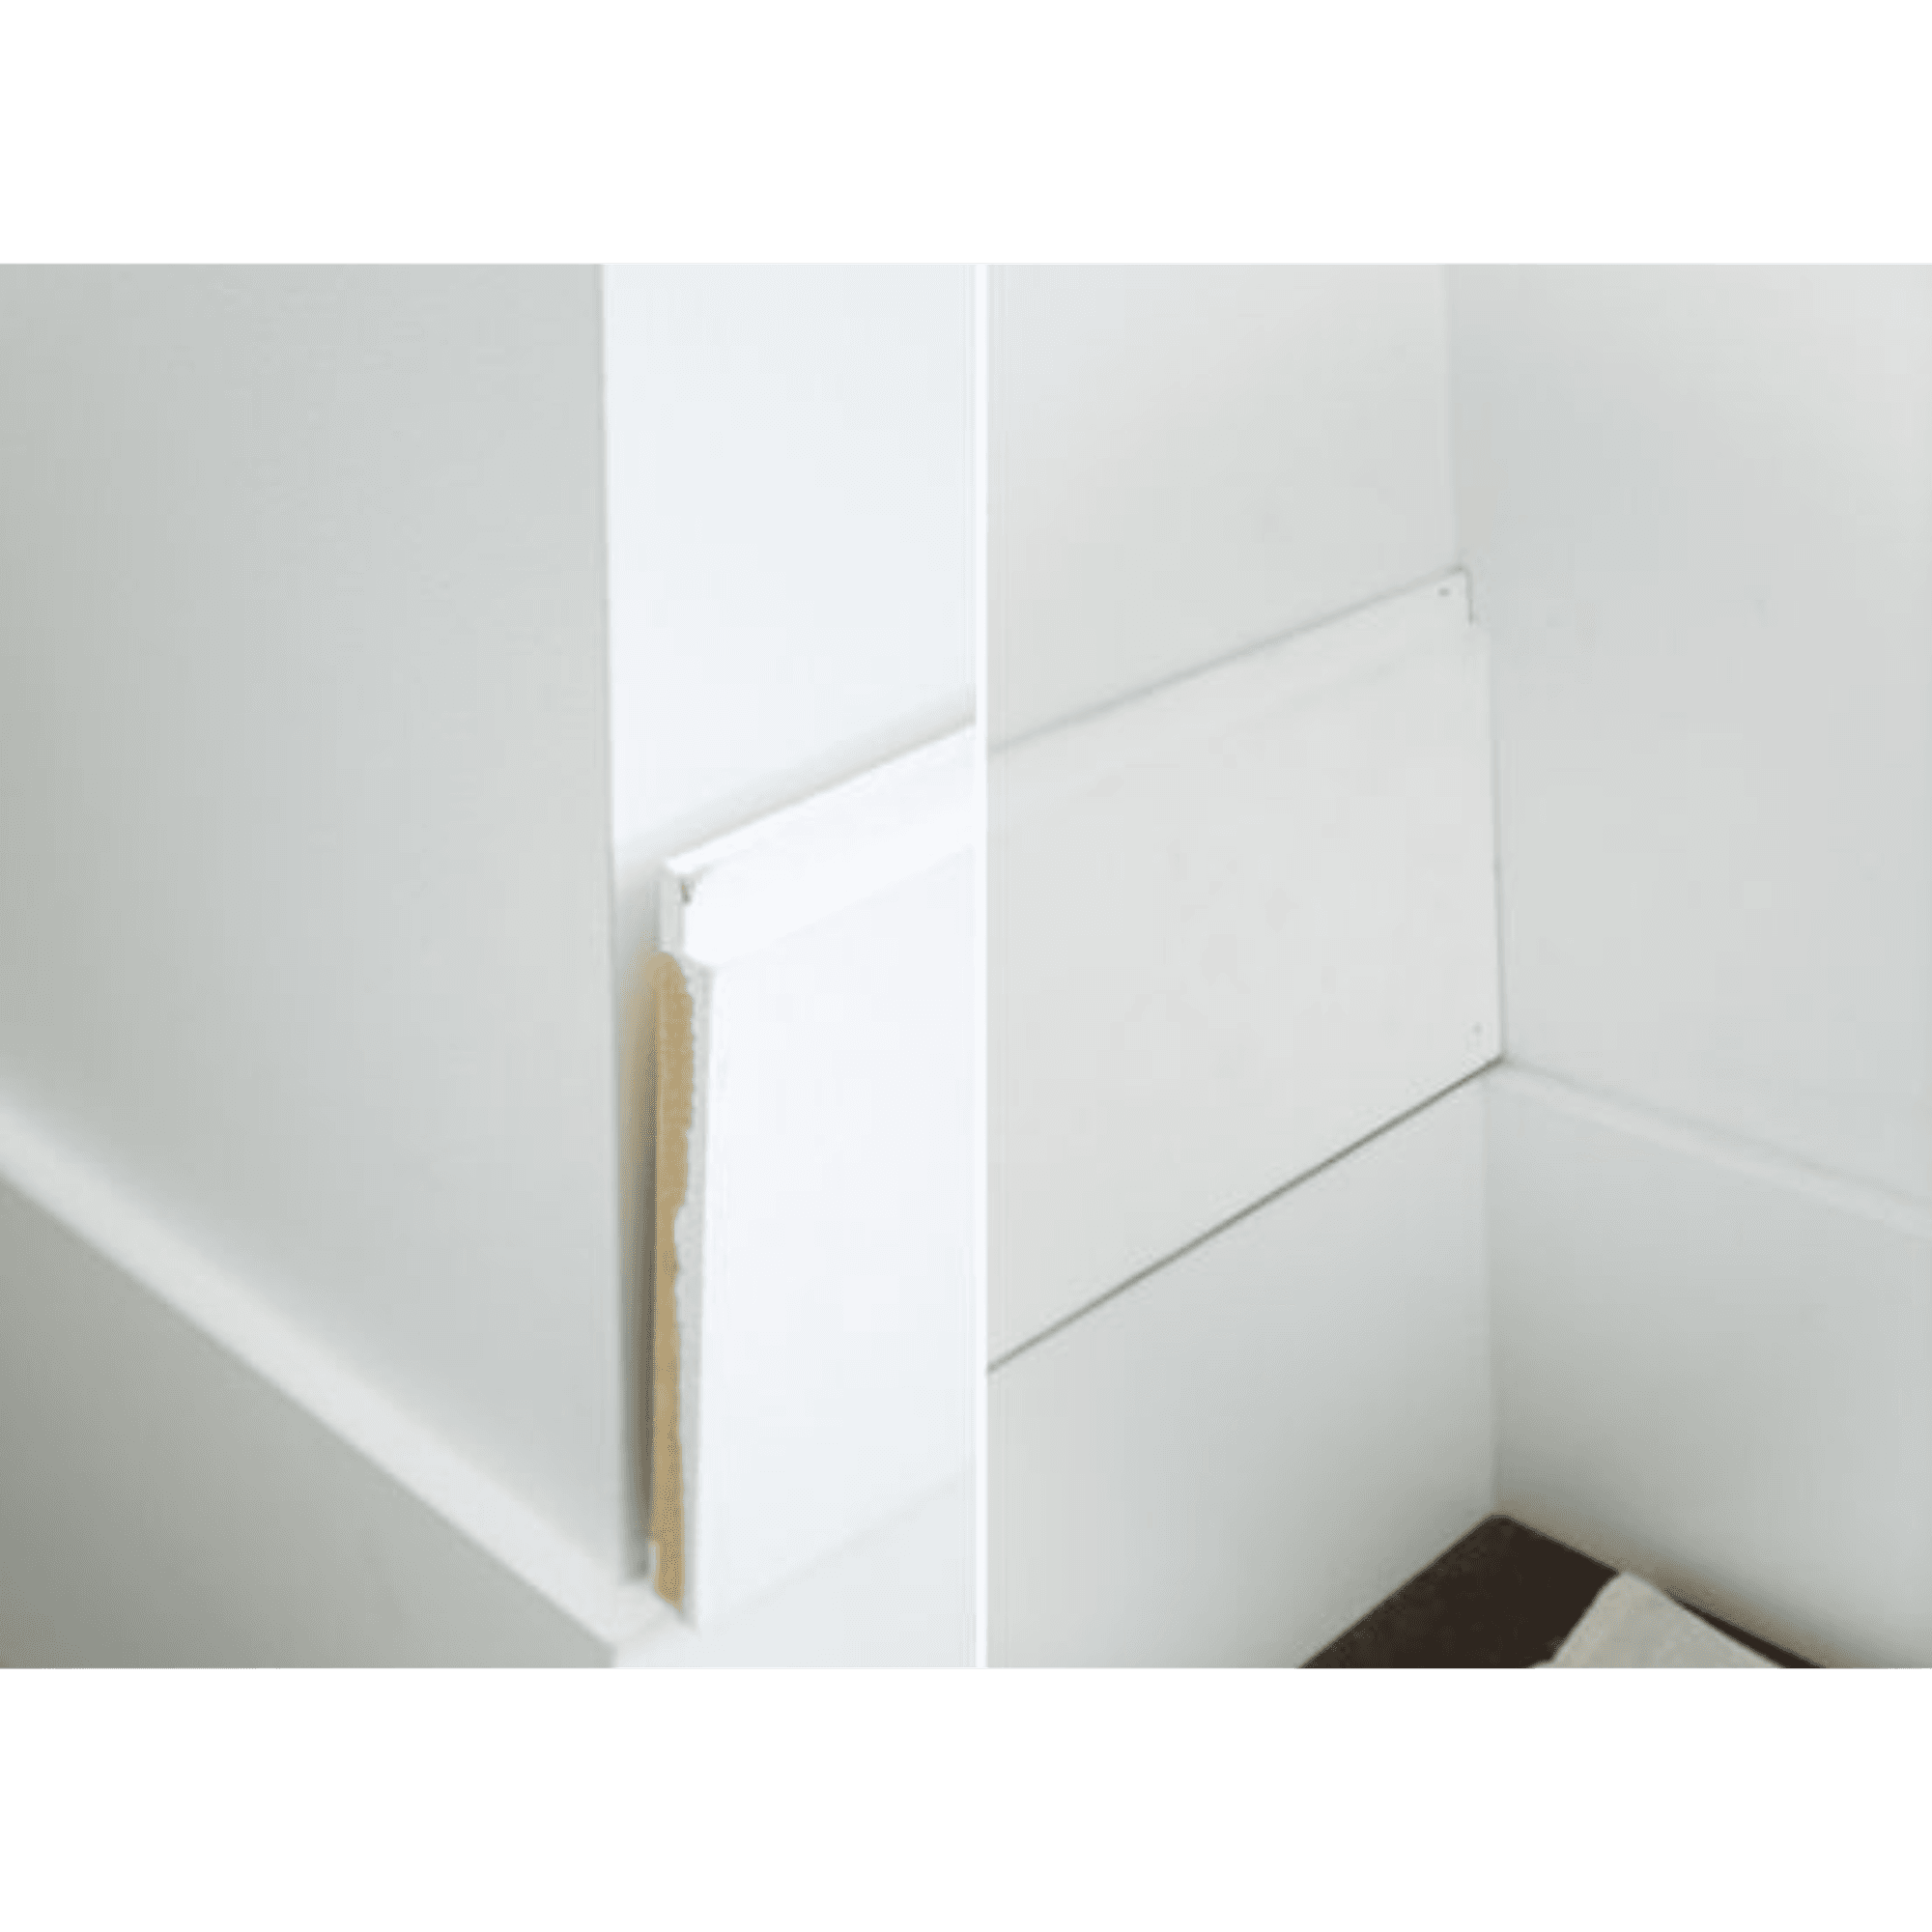
90-degree wall and ceiling corners are never exactly 90 degrees! They often round in a little right in the corner. This can lead to gaping joints. To ensure that you get the shiplap board end to be tight against the adjoining surface, angling the ends of the plank is great. Linda angled the end with a sander, creating a slight bevel that left room at the back of the board for imperfections in the corners and allows the front of the board to sit tightly against that adjoining surface.
The last cut:
The last board placed will rarely be a full board width. You will likely need to cut it, as ceilings are never straight. You could have quite a difference from left to right, sometimes bowing in the middle or rising up a bit in the center. Take measurements at various points along the wall and then cut. You may need to shave a little here and there, but the goal is to leave as little a gap as possible. Don’t forget to angle the back edge to help make it snug. It does not have to be perfect, as you will be caulking to clean it up.
Finishing makes all the difference:

If any of your nails did not sink into the board deep enough, use a nail punch to sink it in deeper.
Putty all of the nail holes using drywall putty and a putty knife.
Caulk along all joints using paintable caulking.
Use your finger to get a clean line and remove any excess caulk.
Sand your putty spots with fine-grit sandpaper before painting the shiplap.
Painting your shiplap for a smooth finish: Choose your color, even if it is a beautiful shade of white, to create the mood you are looking for. Select a matte or eggshell finish paint and apply the paint in the gaps and on edges using a good paintbrush and roll using a roller designed for smooth surfaces. Watch for drips coming from the gaps. If you miss one, do a light sanding before applying your second coat.
For more install tips and tricks browse our Modern Farmhouse shiplap.
Keep in mind shiplap doesn’t have to be installed horizontally, switch it up by installing it vertically, or even on the ceiling for an elevated look.
Left: @LeclairDecor | Right: @BrittanyMakes
Looking for more finished spaces embracing the shiplap trend? Check out our hashtag #ShowYourShiplap.